EBR charges a service fee to manufacturers to produce ebike reviews and videos, this began in 2018. It’s the same flat fee for each bike, and it helps us to keep the site going while limiting ad clutter. We appreciate the opportunity to serve you with our opinions and data but respect your right to know that we receive compensation :)
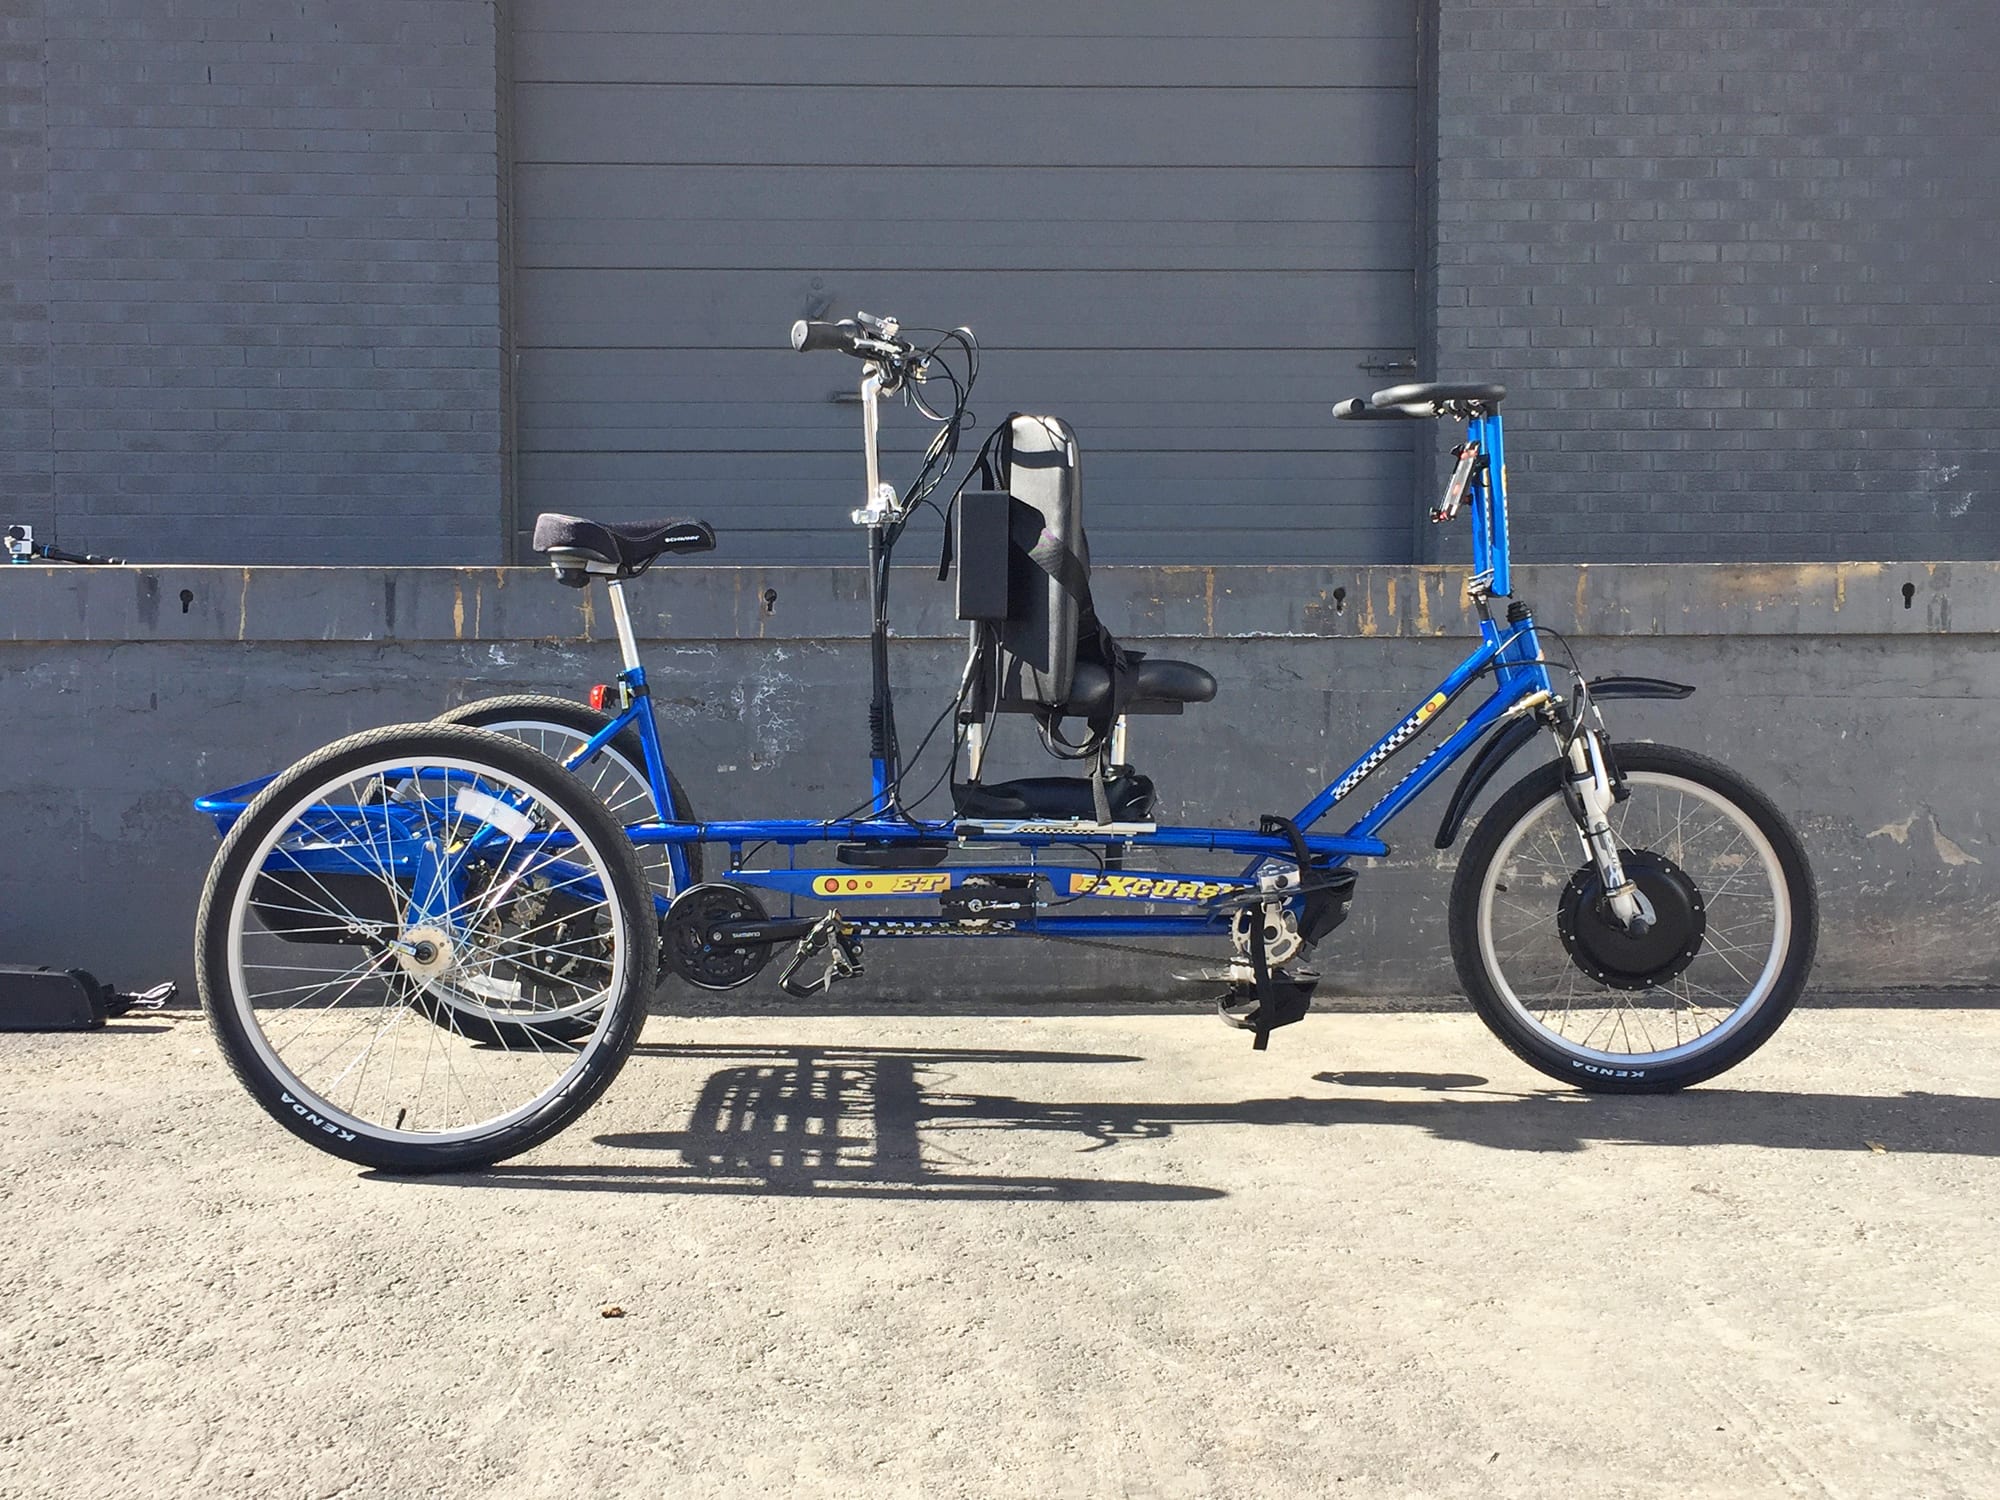
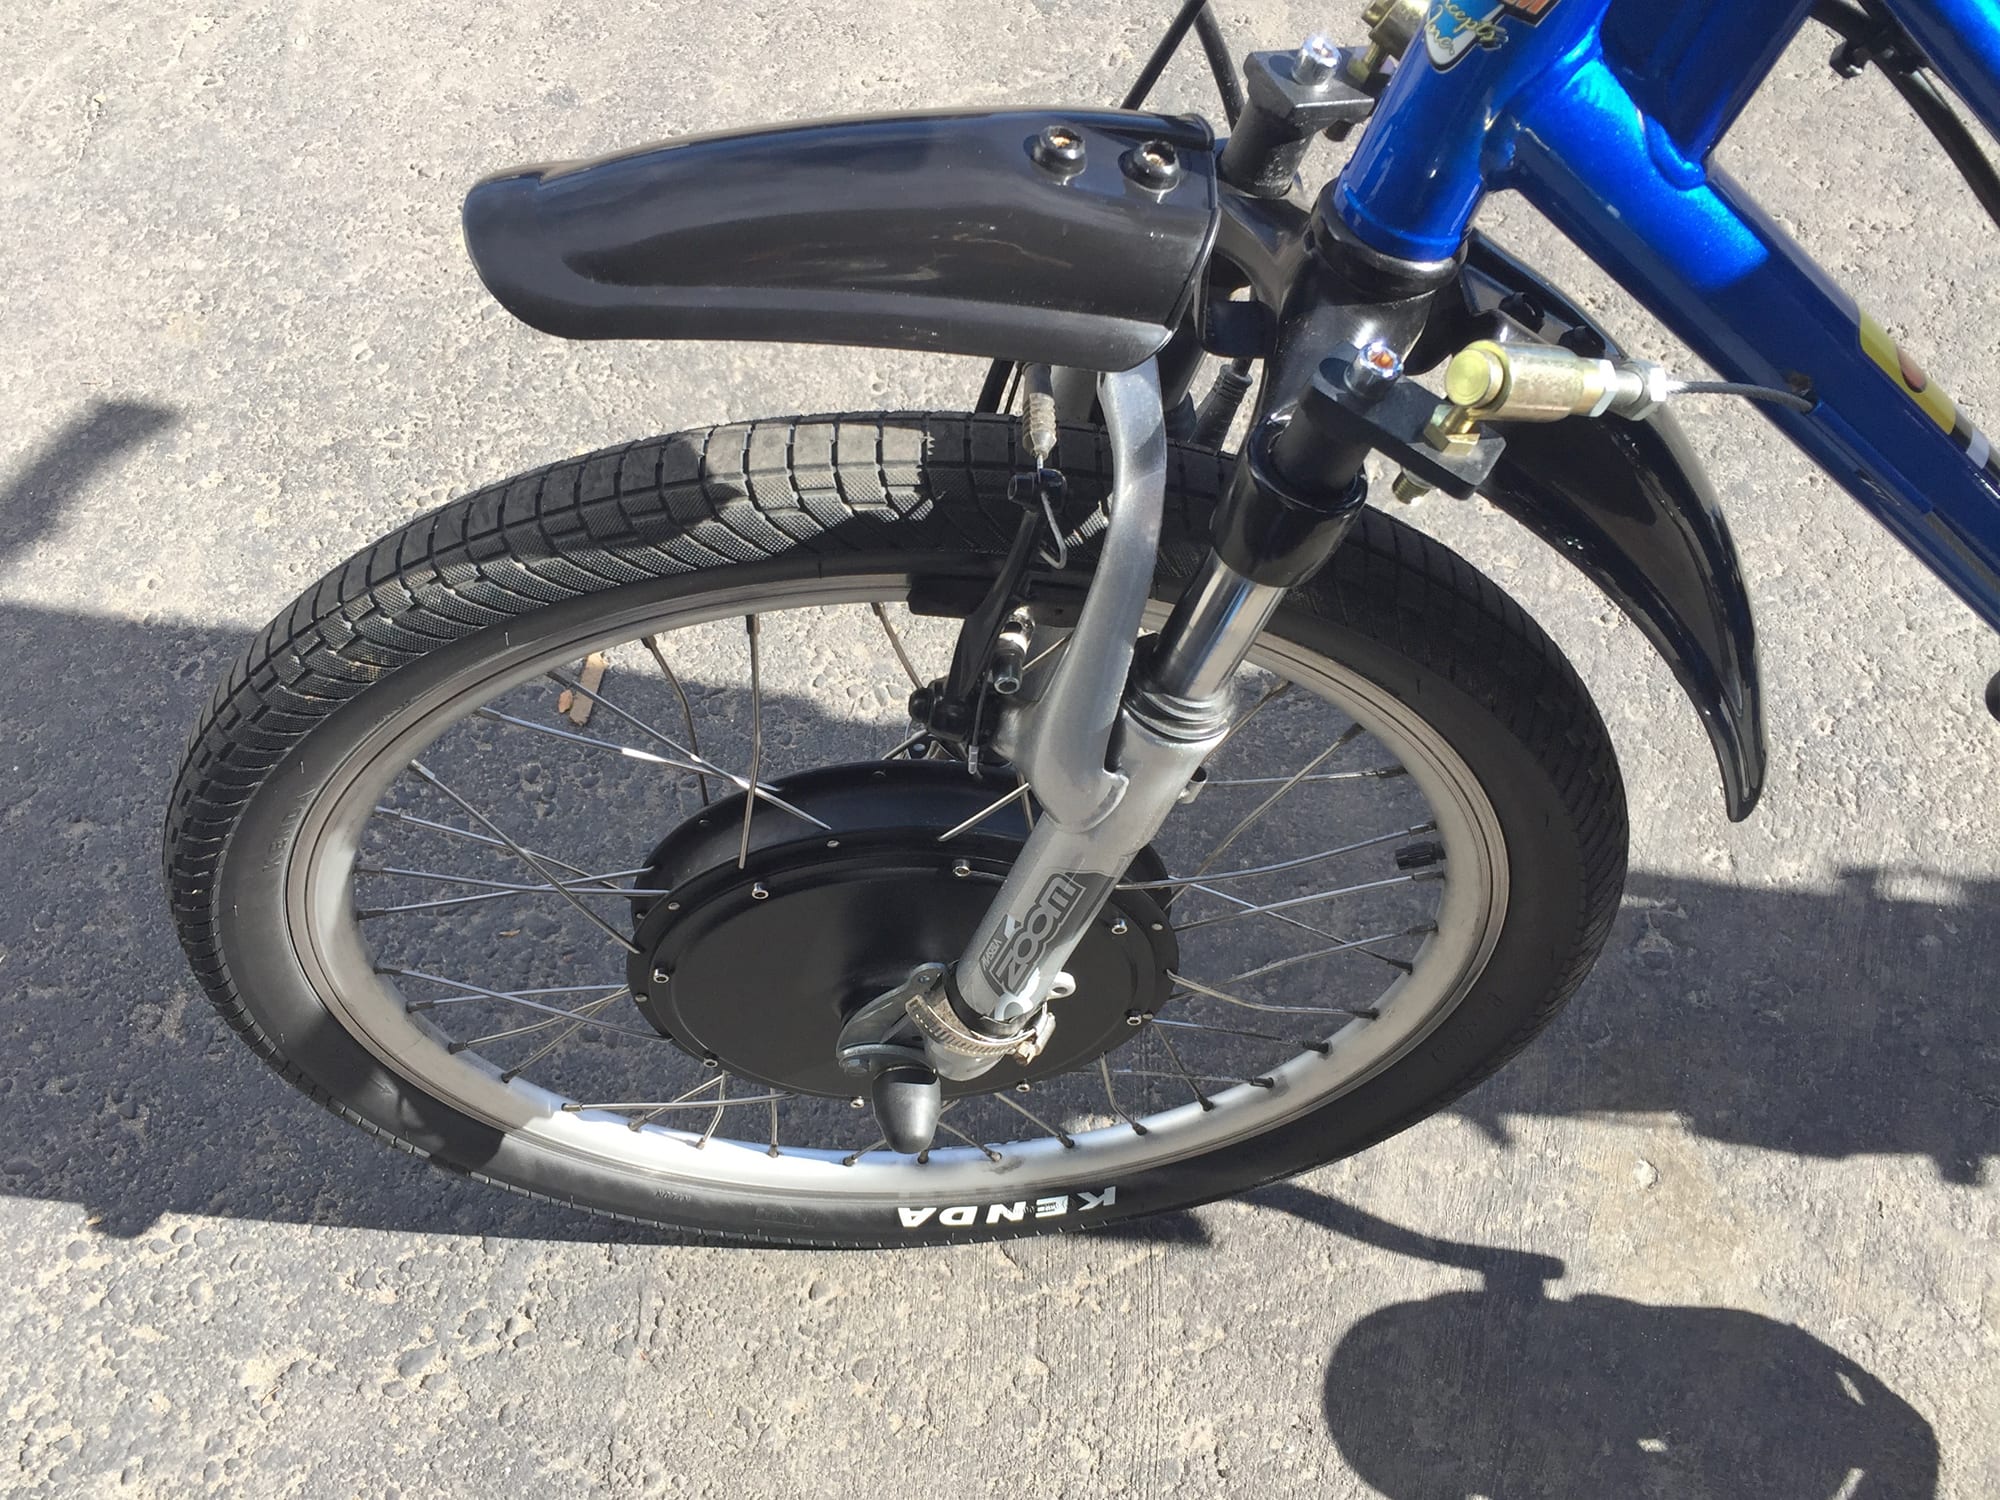
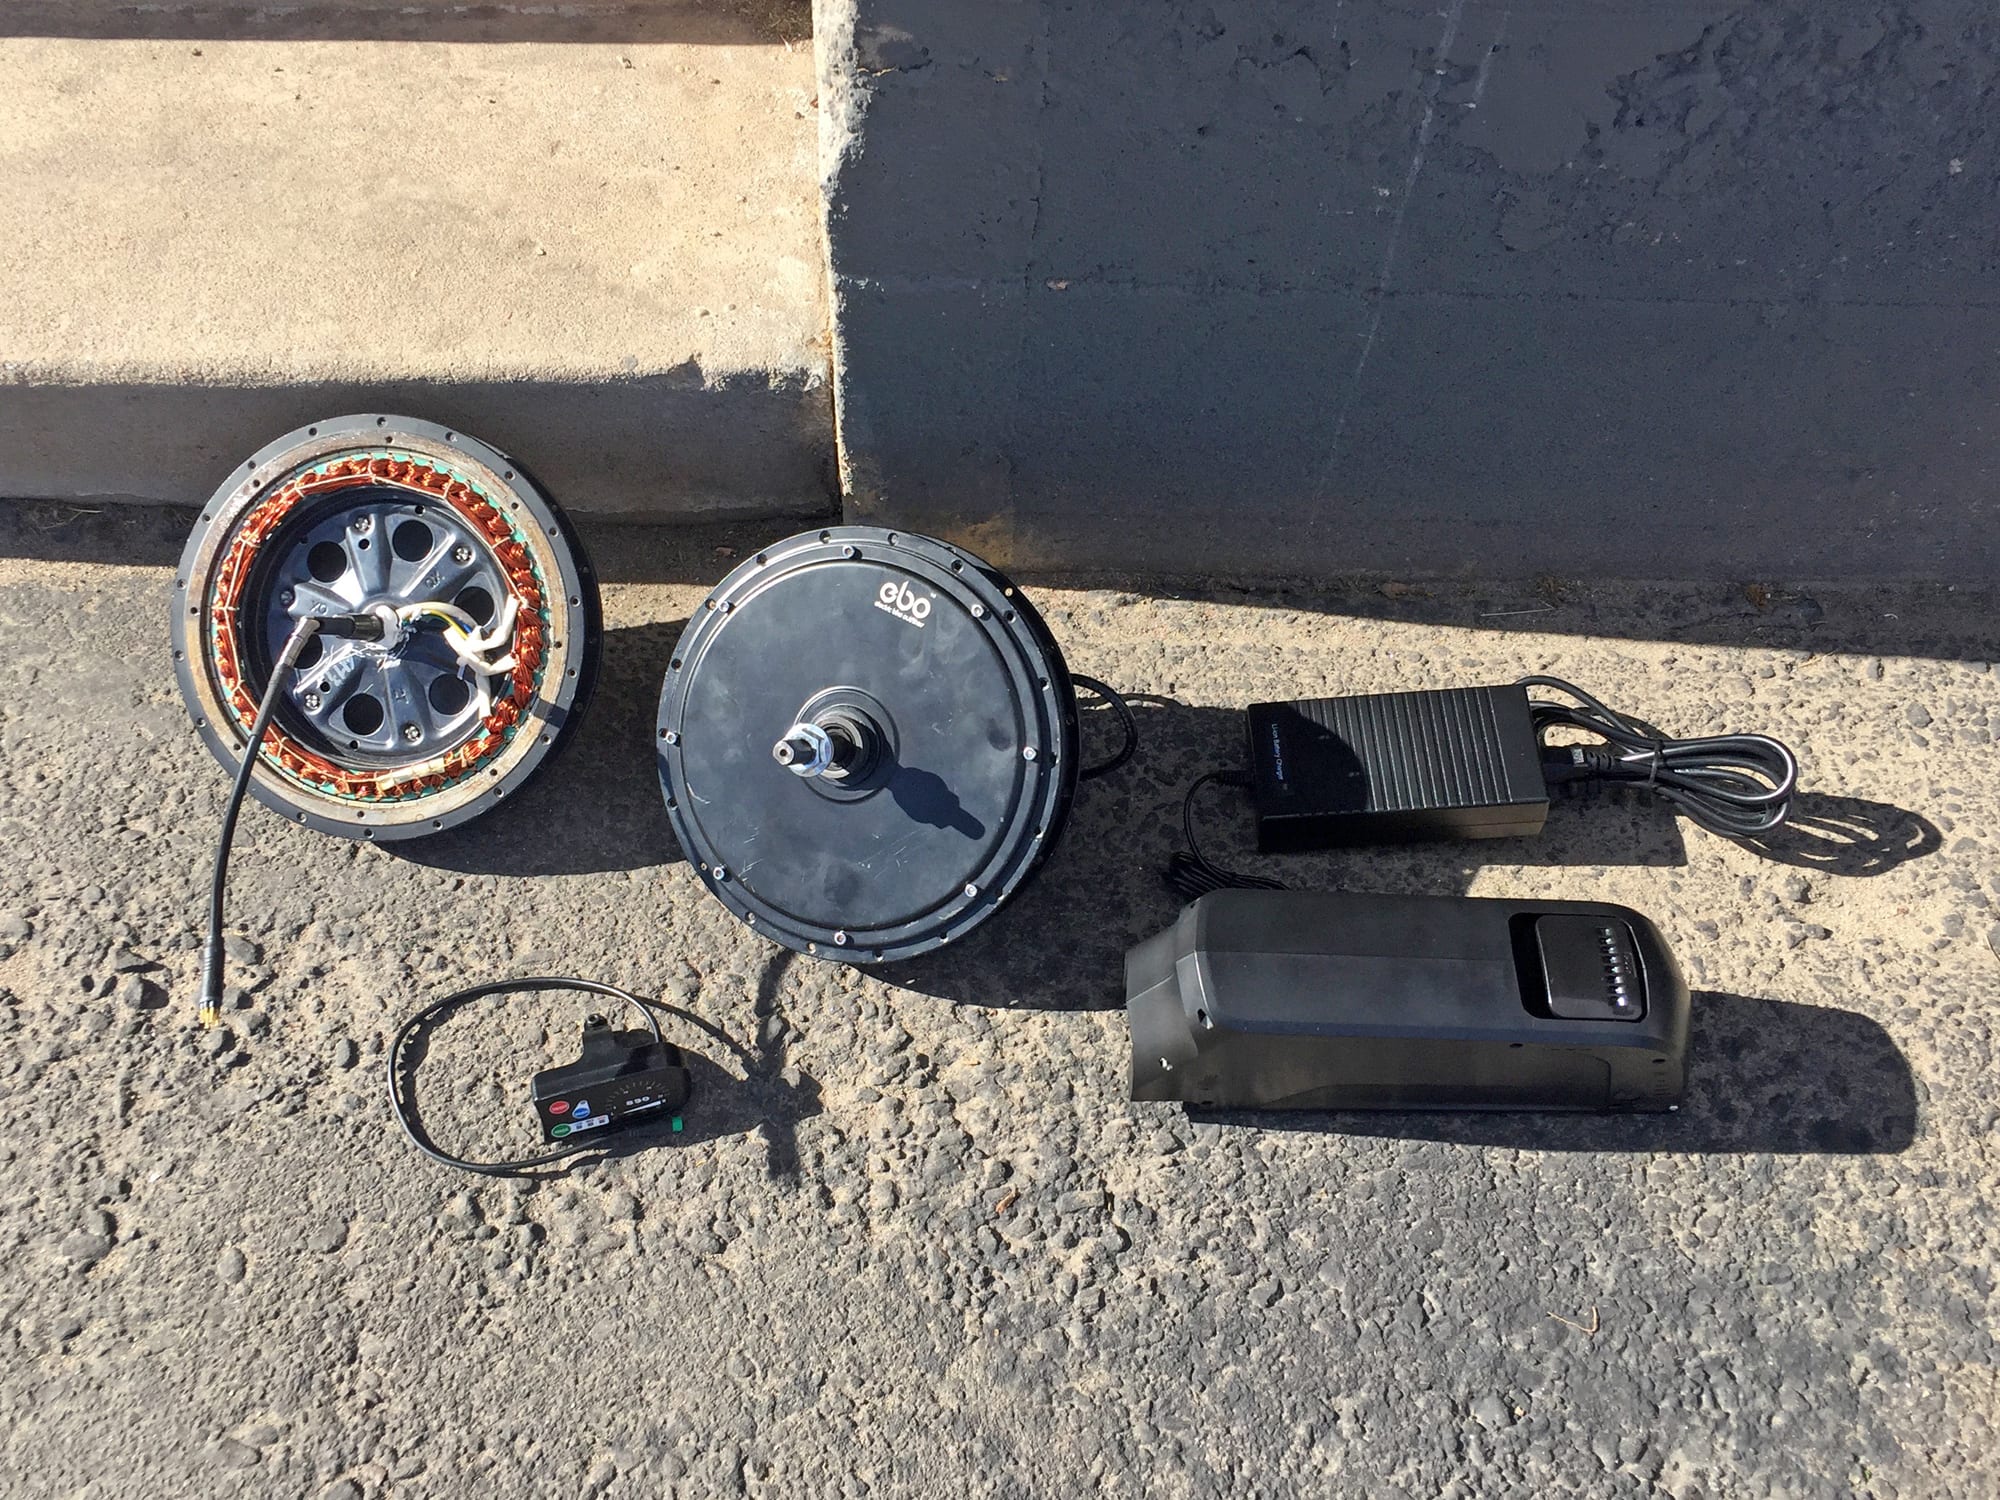
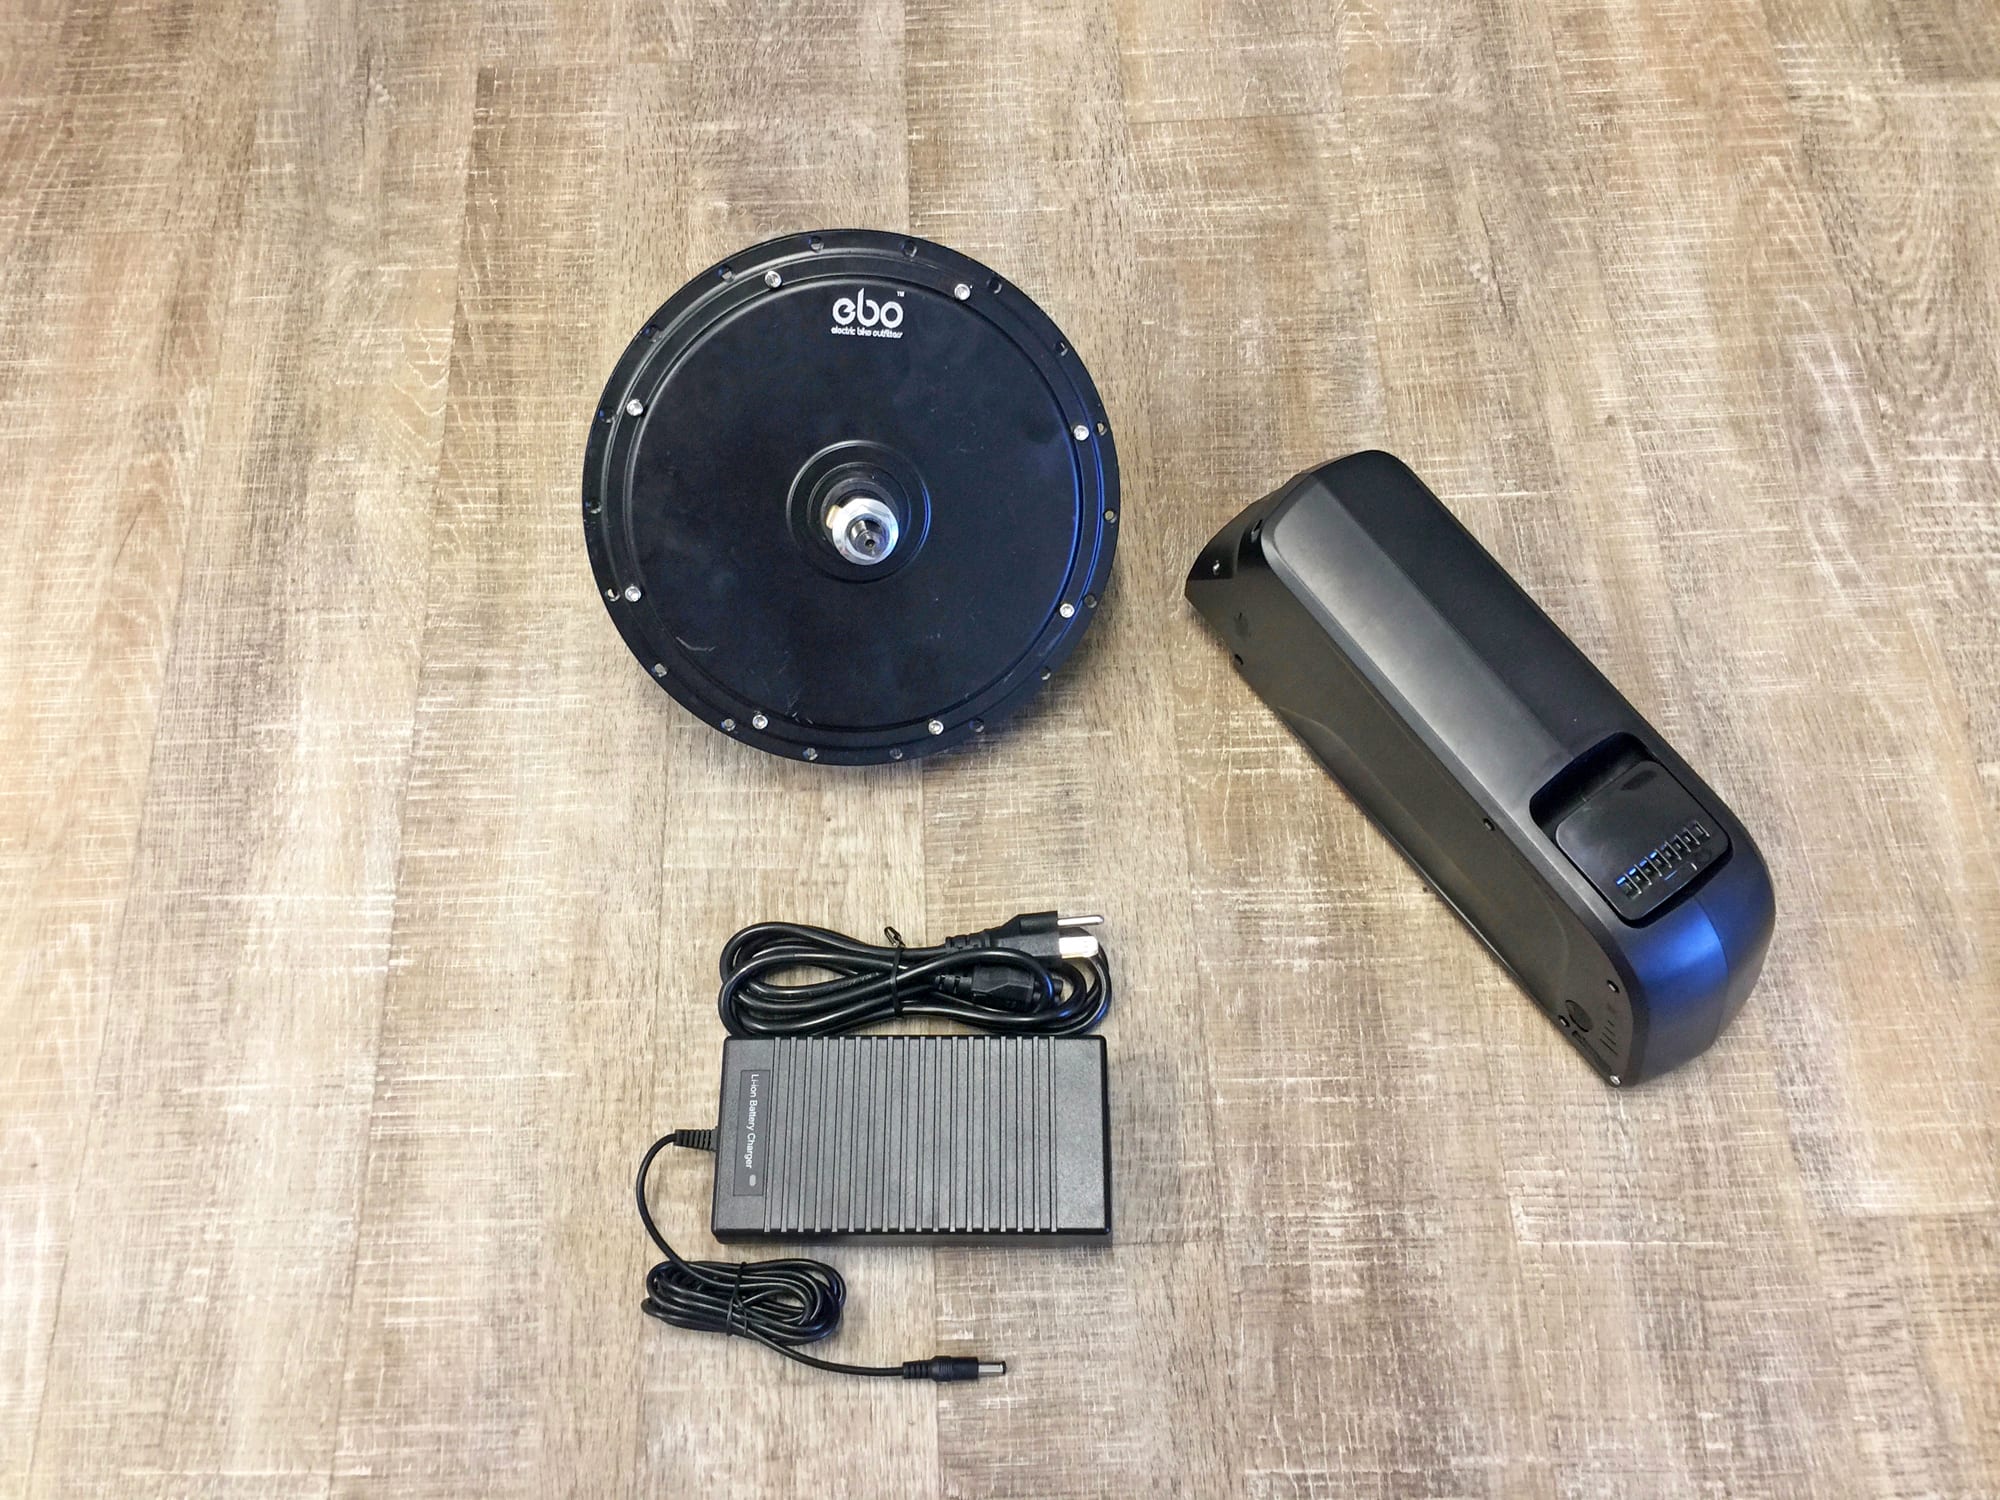
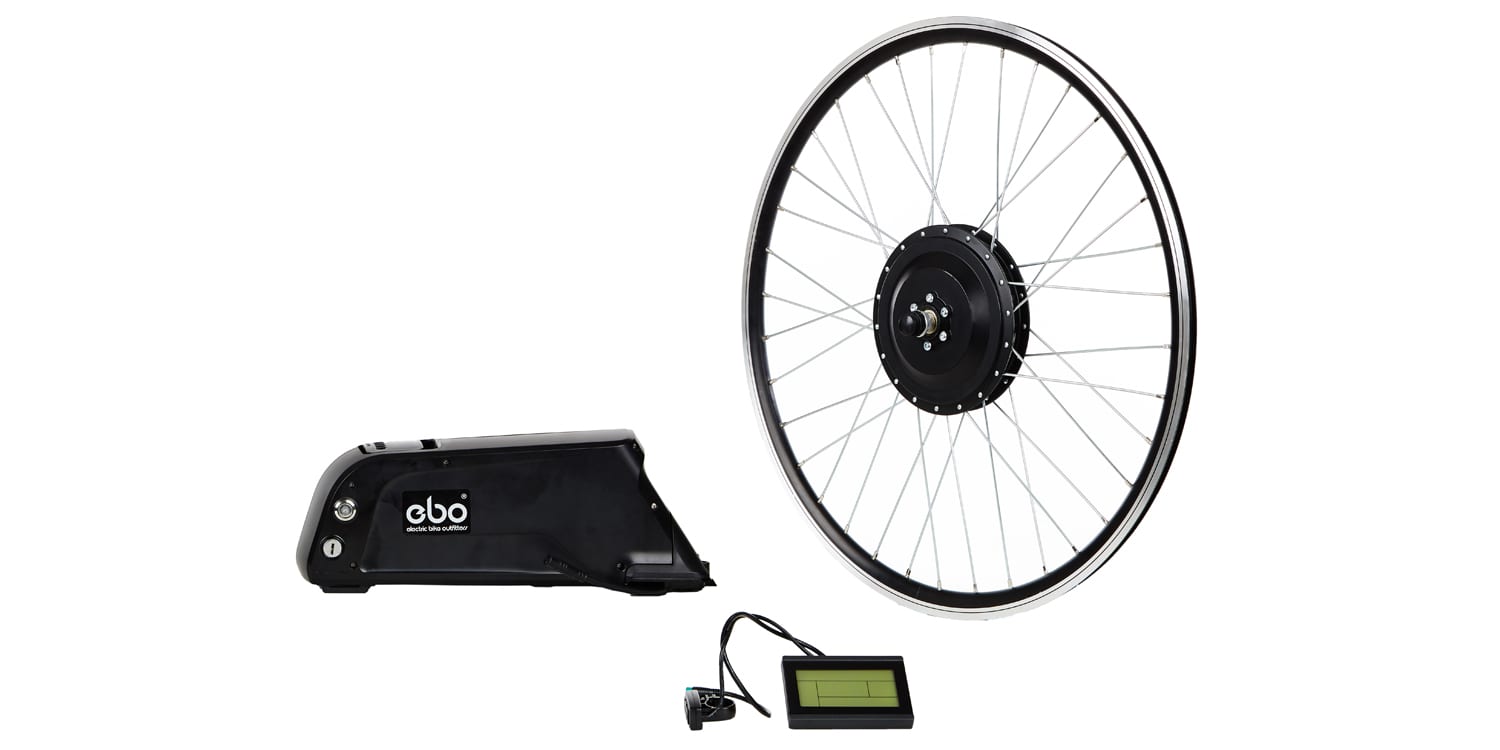
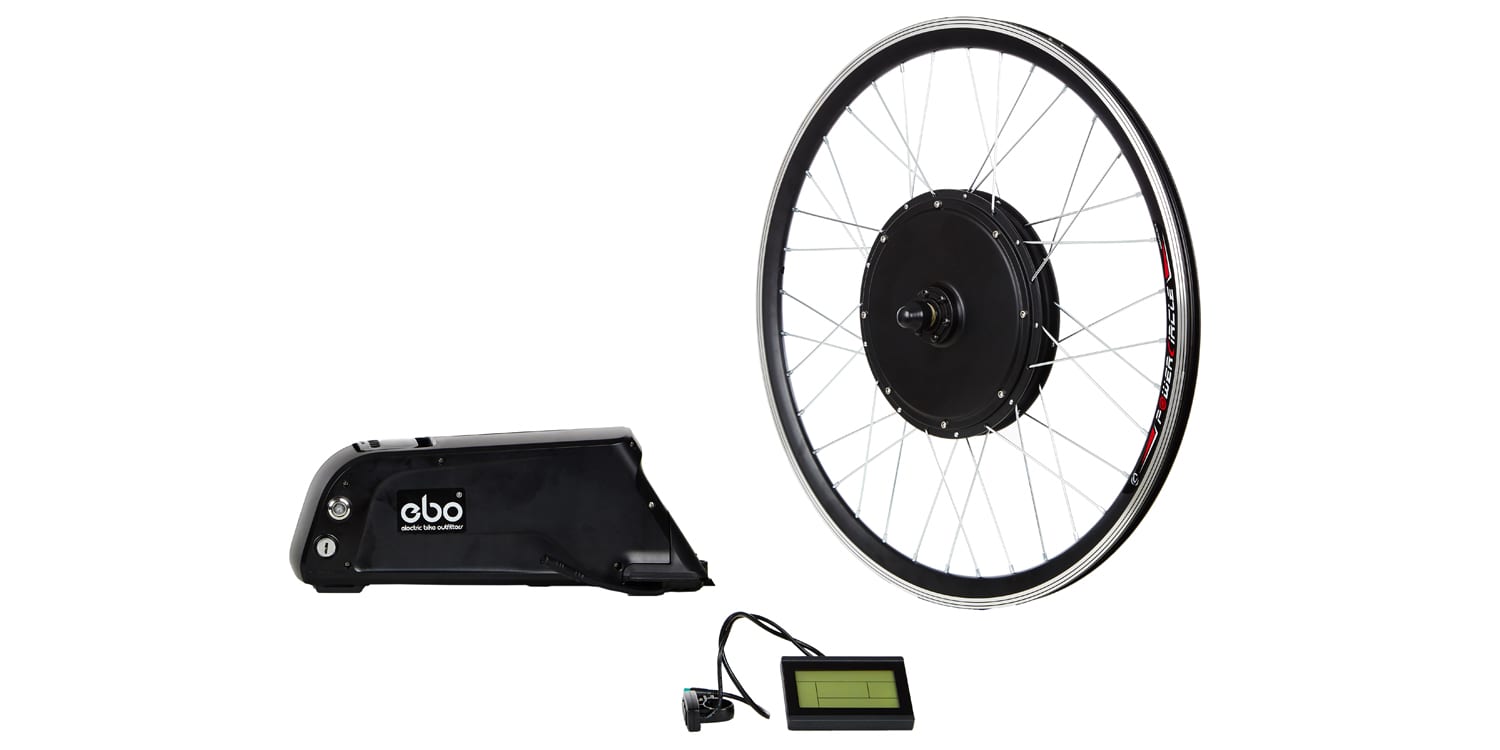
Electric Bike Outfitters (EBO) has been supplying ebike kits and components since 2015, they go above and beyond to provide custom solutions that look nice and work well for specific applications. This isn’t a one-size-fits-all operation, and you can really see that with the demo bike I tested for the Clydesdale 2.0 review. Ebike kits tend to be versatile compared to purpose built products, but the color and sizing options on offer with EBO take it to the next level. Yes, there is some additional effort required during installation, yes, there will always be more clutter with a kit because the wires cannot easily be internally routed through non-ebike frames, and yes, EBO products cost a bit more than eBay or generic stuff… but you get phone support, a 30-day return policy, and a one year comprehensive warranty. In my opinion, it’s a great middle ground between a frustrating cheap kit that might not work perfectly and an expensive but often locked or limited mainstream ebike. The Clydesdale is a workhorse, aptly named for the breed of large, powerful horses that were used for agriculture and haulage in Scotland. It produces nominal output of one horsepower (roughly 750 watts) but can peak around 1,440 watts with up to 60 Newton meters of torque. Being gearless, this motor should last a long time and produce less noise than some of the other EBO kits, but it does suffer from a bit of magnetic drag. It’s also a lot heavier, the motor itself weighs around 14 lbs vs. ~7 lbs for many of the smaller kits. If you have a cargo bike, pedicab, tandem, or some other custom bicycle such as the handicap Freedom Concepts ET2611 model we test rode, it would be a great choice. Jason, the founder of Electric Bike Outfitters, said that this motor can be spoked into front or rear wheels as well as standard and fat rims (for fat tire bikes).
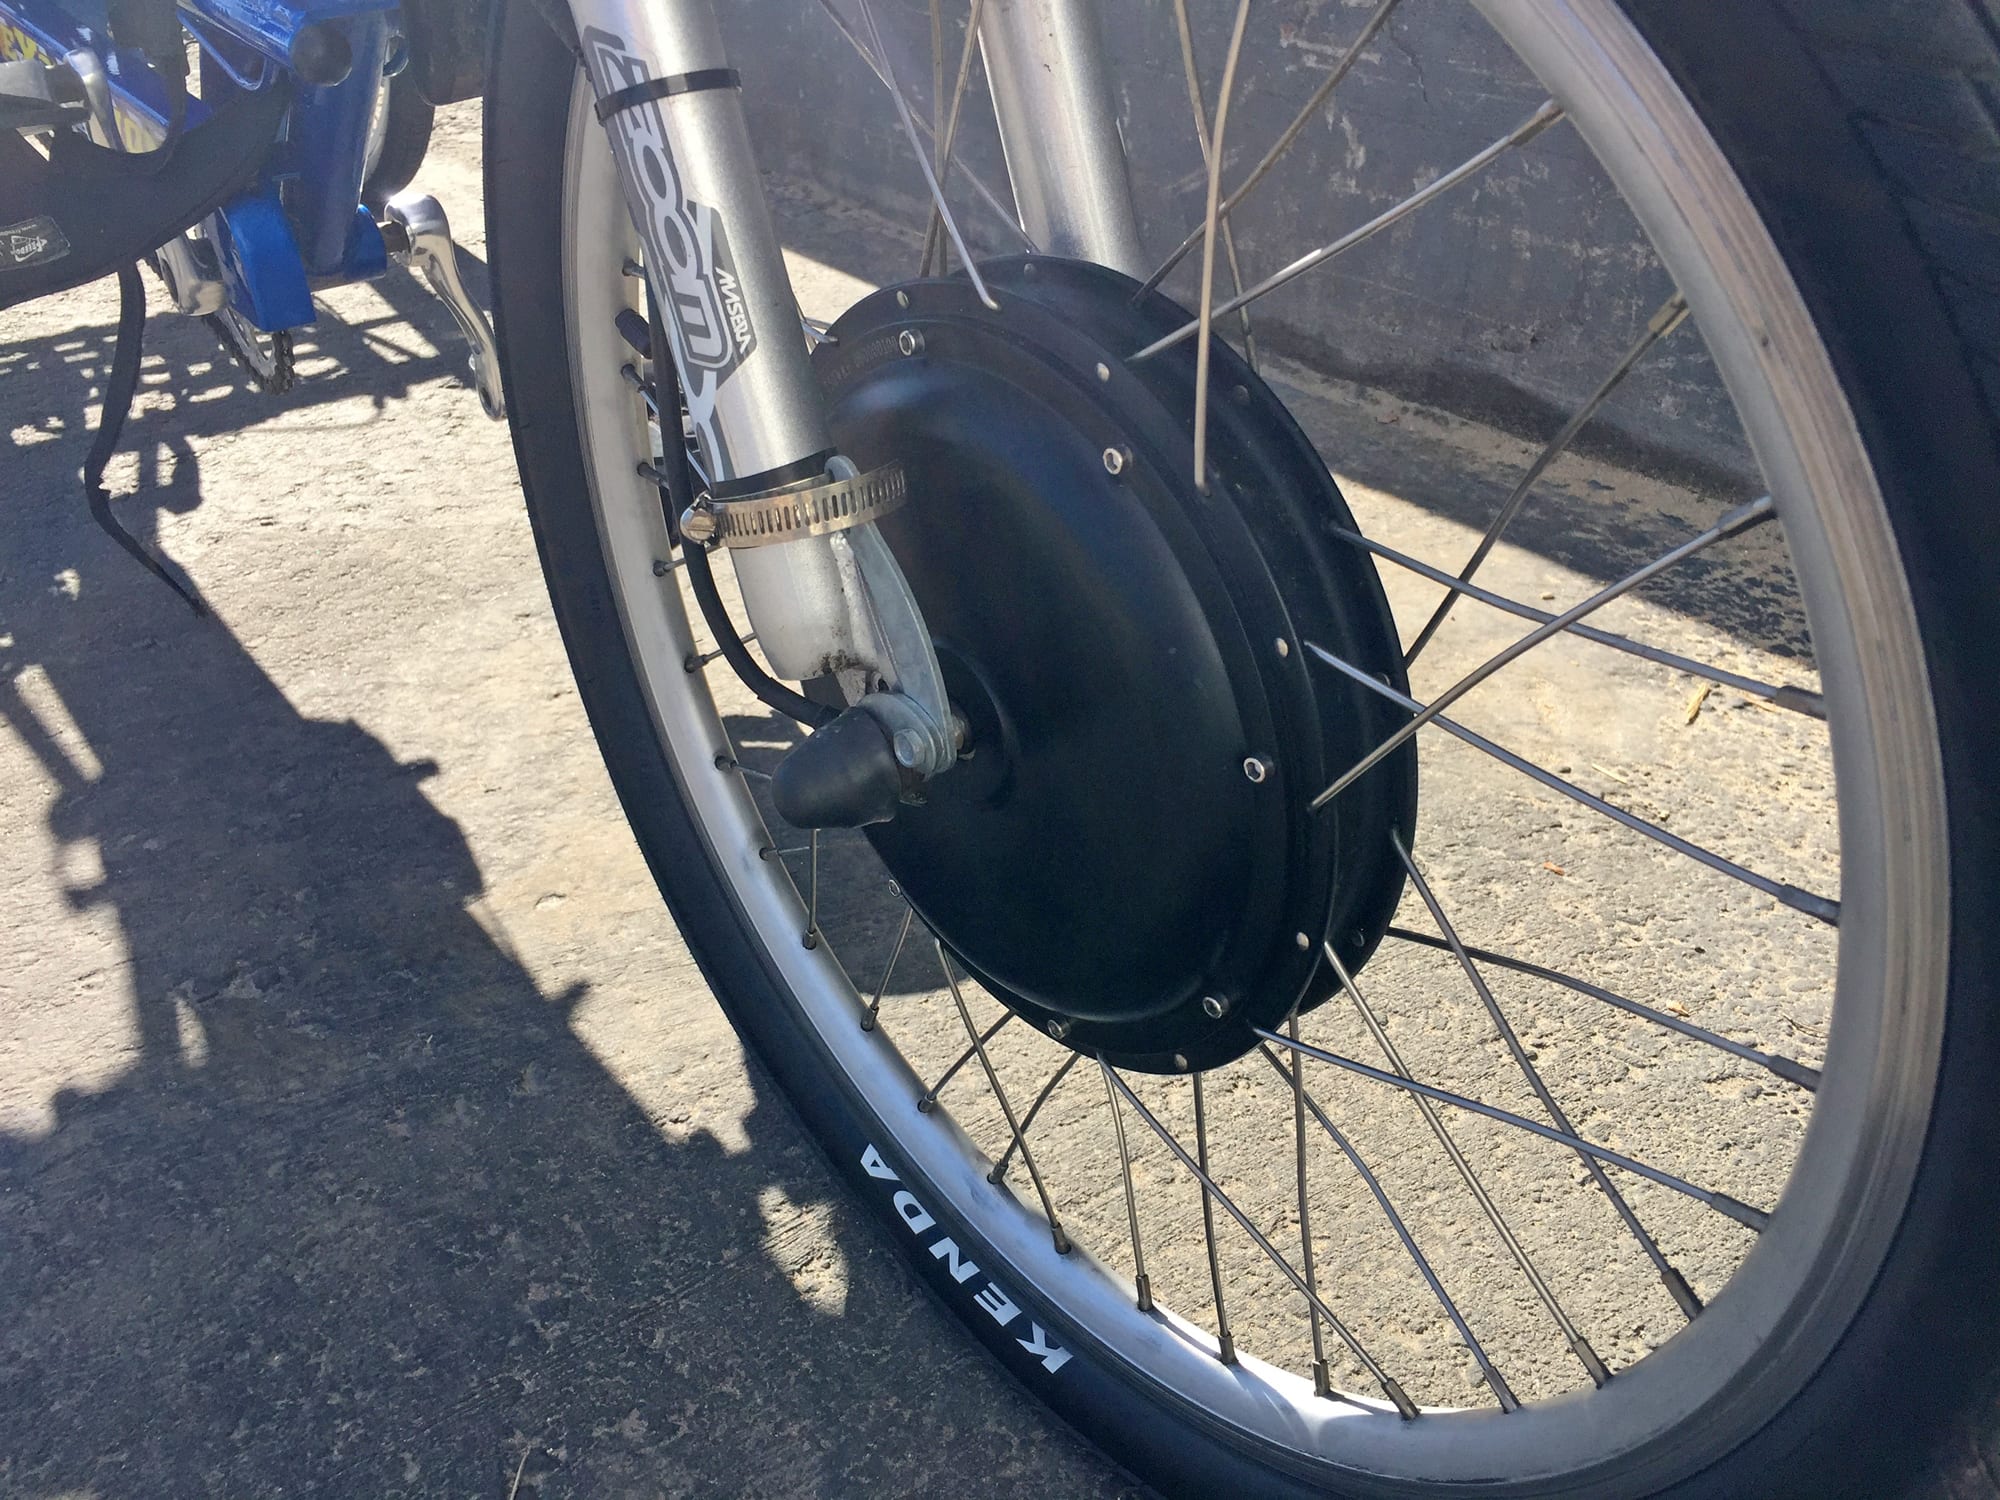
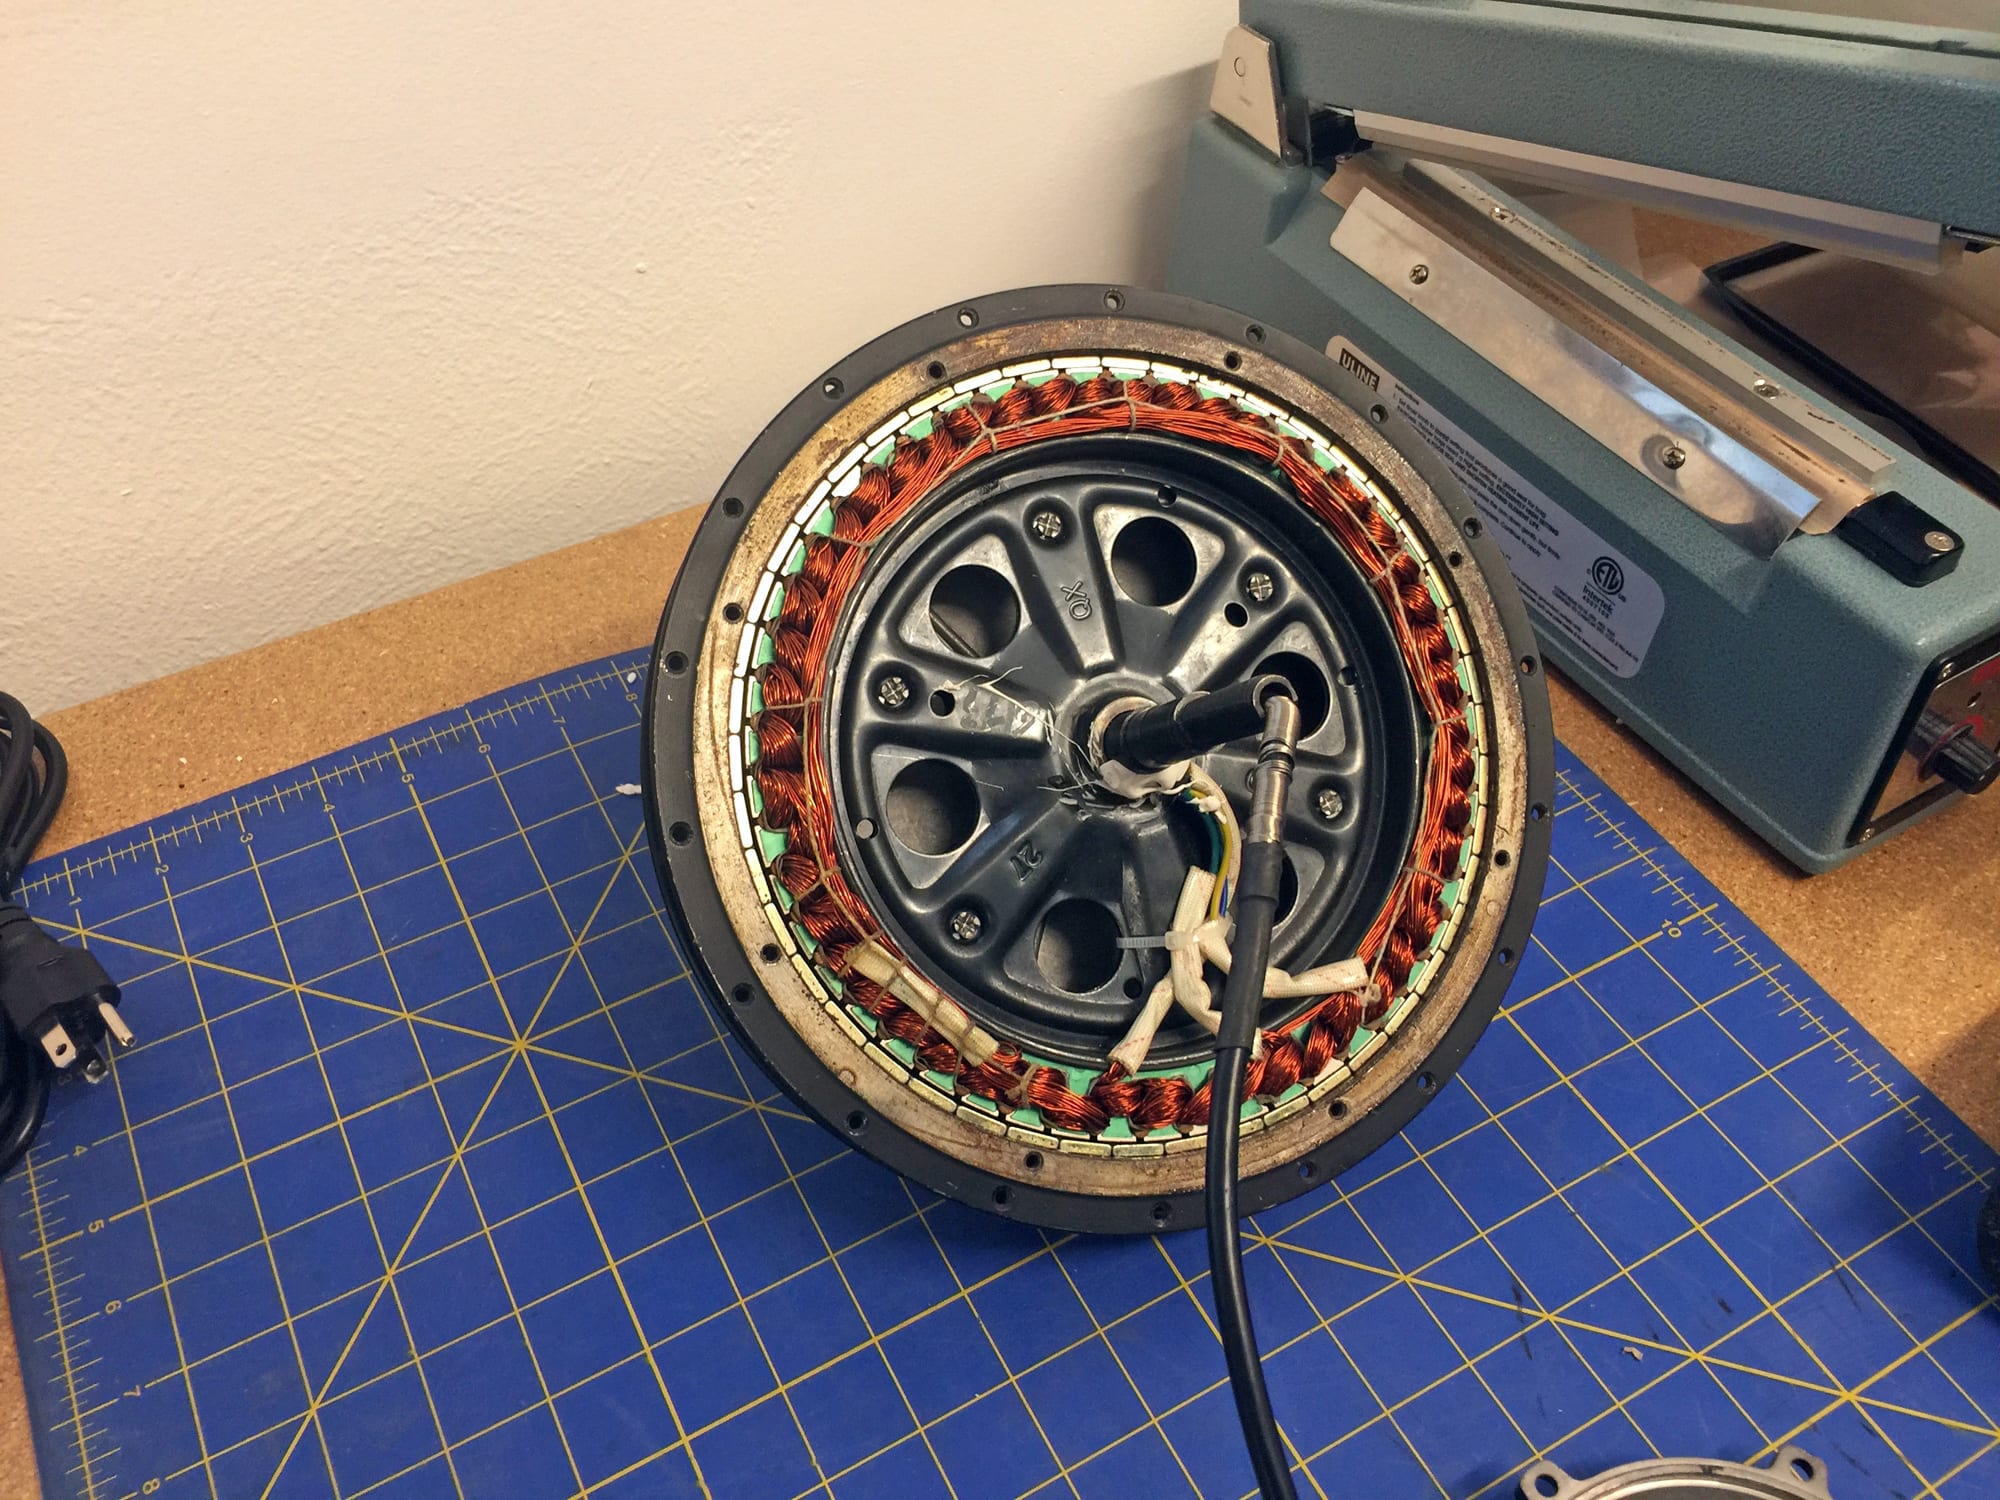
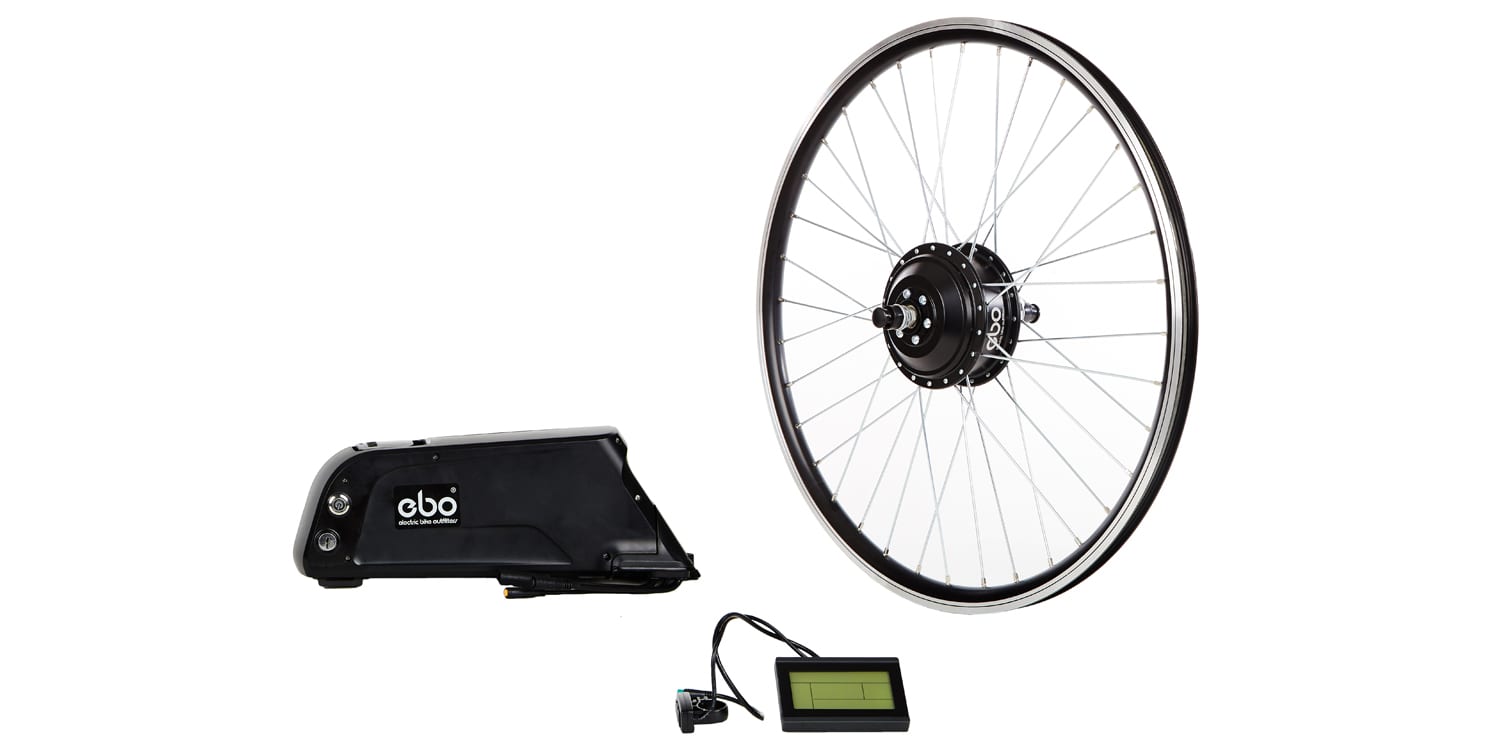
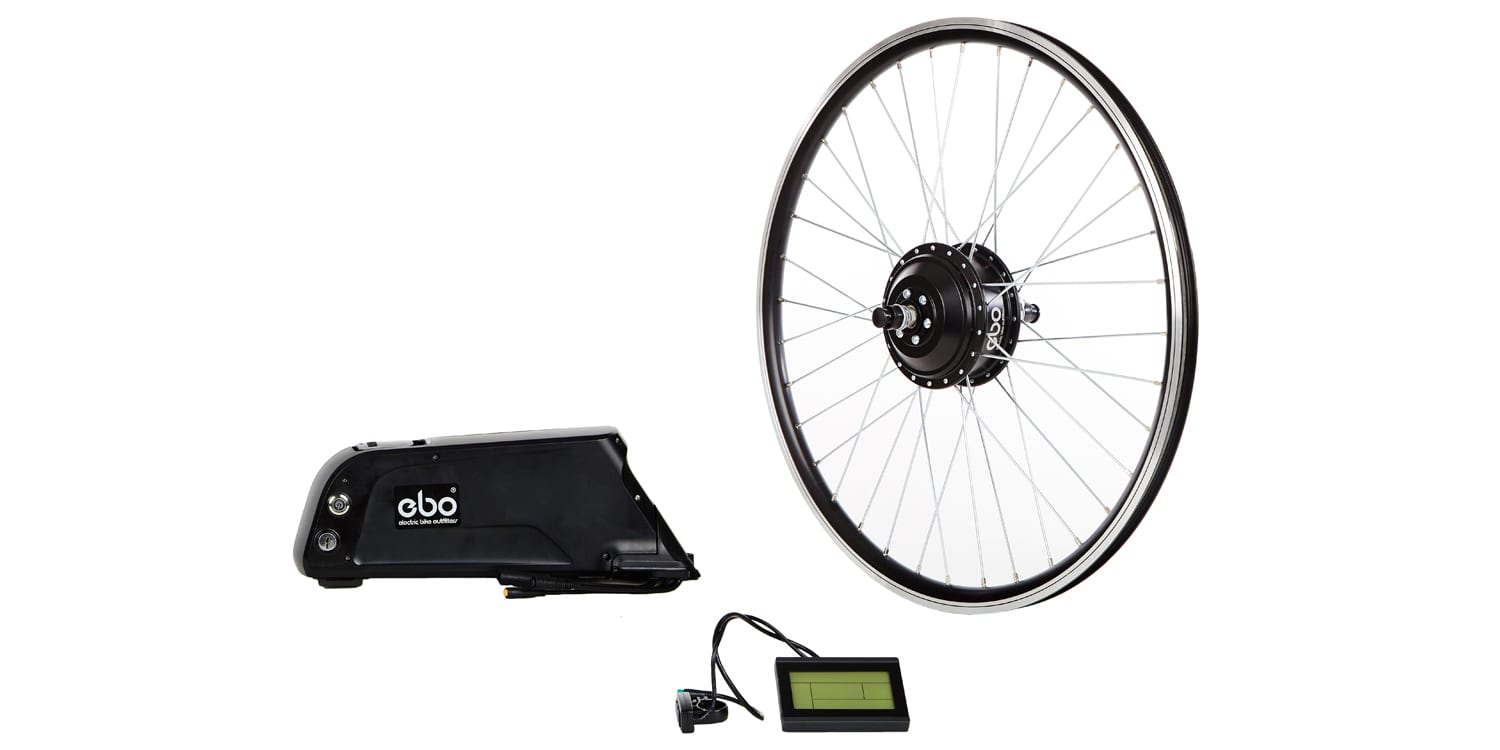
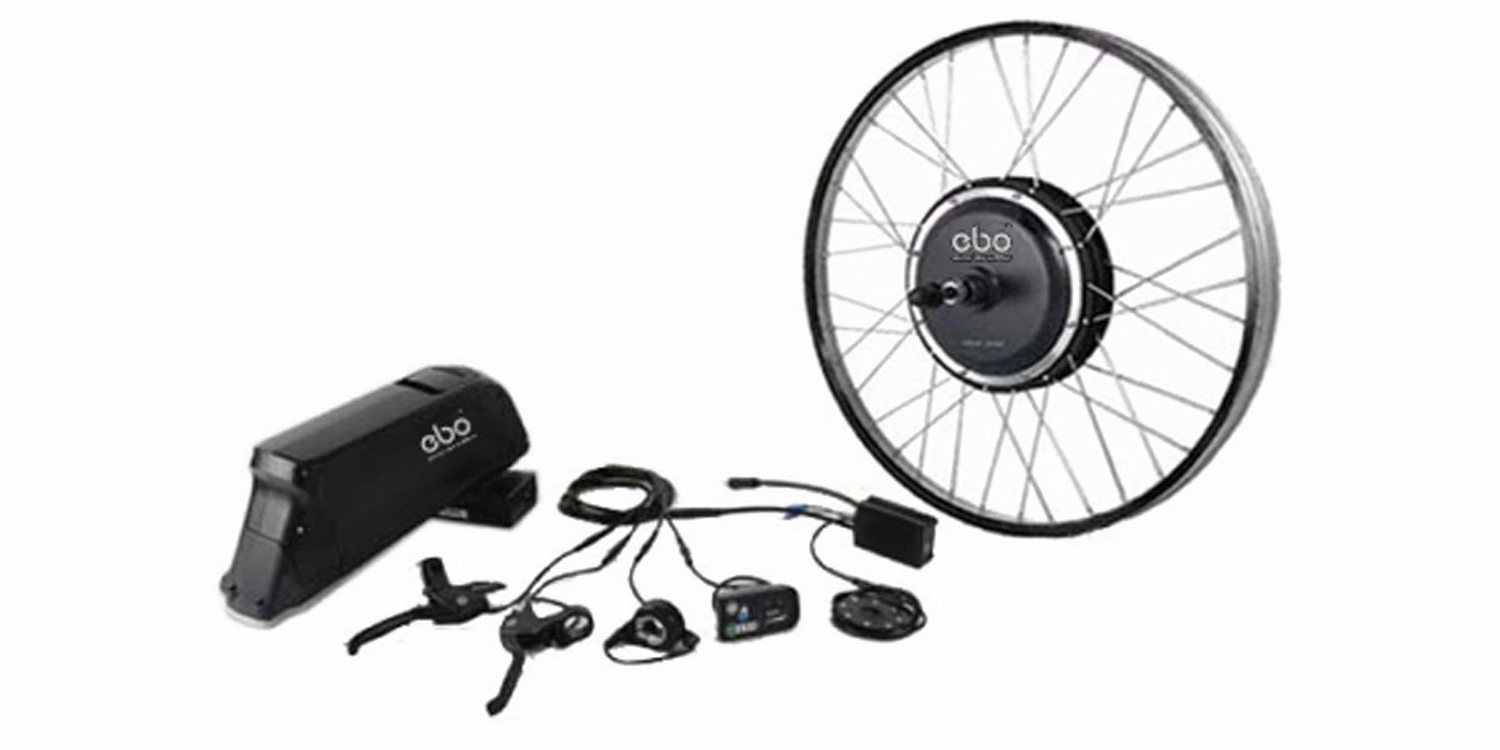
The drive unit itself is rather large, but can still be spoked in any sort of rim between 20″ diameter and 28″ (including those for fat tire bikes and 29er mountain models). Some of the smaller kits can go all the way down to 16″ diameter rims for folding applications, but this motor is meant more for power and durability than efficiency and weight savings, so that’s not much of a miss. Inside, there are electromagnetic staters that repel rare Earth magnets lined around the inside of the casing. As electricity flows, up to 30 amps from the motor controller, the magnets repel and the hub turns. Through the cent of the unit, there’s a thick 14 mm threaded axle with cuts that fit a ~9.8 mm dropout. Most standard bicycle frames are made from Aluminum and some have Steel forks. Either material could be damaged by such a large and powerful motor, so EBO has included a large torque arm to spread forces into the frame and preserve the integrity of the dropouts. Another area of sensitivity worth noting is the power cable that enters through the right axle, make sure that wire is on the right when you build the kit or the motor will send you backwards (this has happened to me before, alas). This cable is protected by a rubber cap, but it’s worth paying extra close attention to because it could bend or get cut and then the motor will stop working… it’s not something that is easy to repair. Consider laying your bike down on the left side, if you have to, and just zip tie this cable close to keep it safe and out of the way. The motor is spoked into your choice of wheel size with thicker 12 gauge spokes and you can choose from black or silver motor casing and rim to match your bike. The rim has machined sidewalls to work with pad brakes or you can mount a disc brake rotor directly to the motor hub casing. My own preference for hub motor positioning is in the rear wheel, because that provides better traction and tends to be a sturdier part of the frame (especially compared to a cheap suspension fork). However, the owners of the ET2611, Robert and Adrienne, did mount it to a suspension fork and it seemed to be holding up great! For those who opt for a rear wheel setup, EBO offers single speed, 7, 8, and 9 sprocket cassettes. There’s a lot of versatility, and dropout spacing from 100, 120, 135, 170, and even 190 mm for those fat tire bikes.
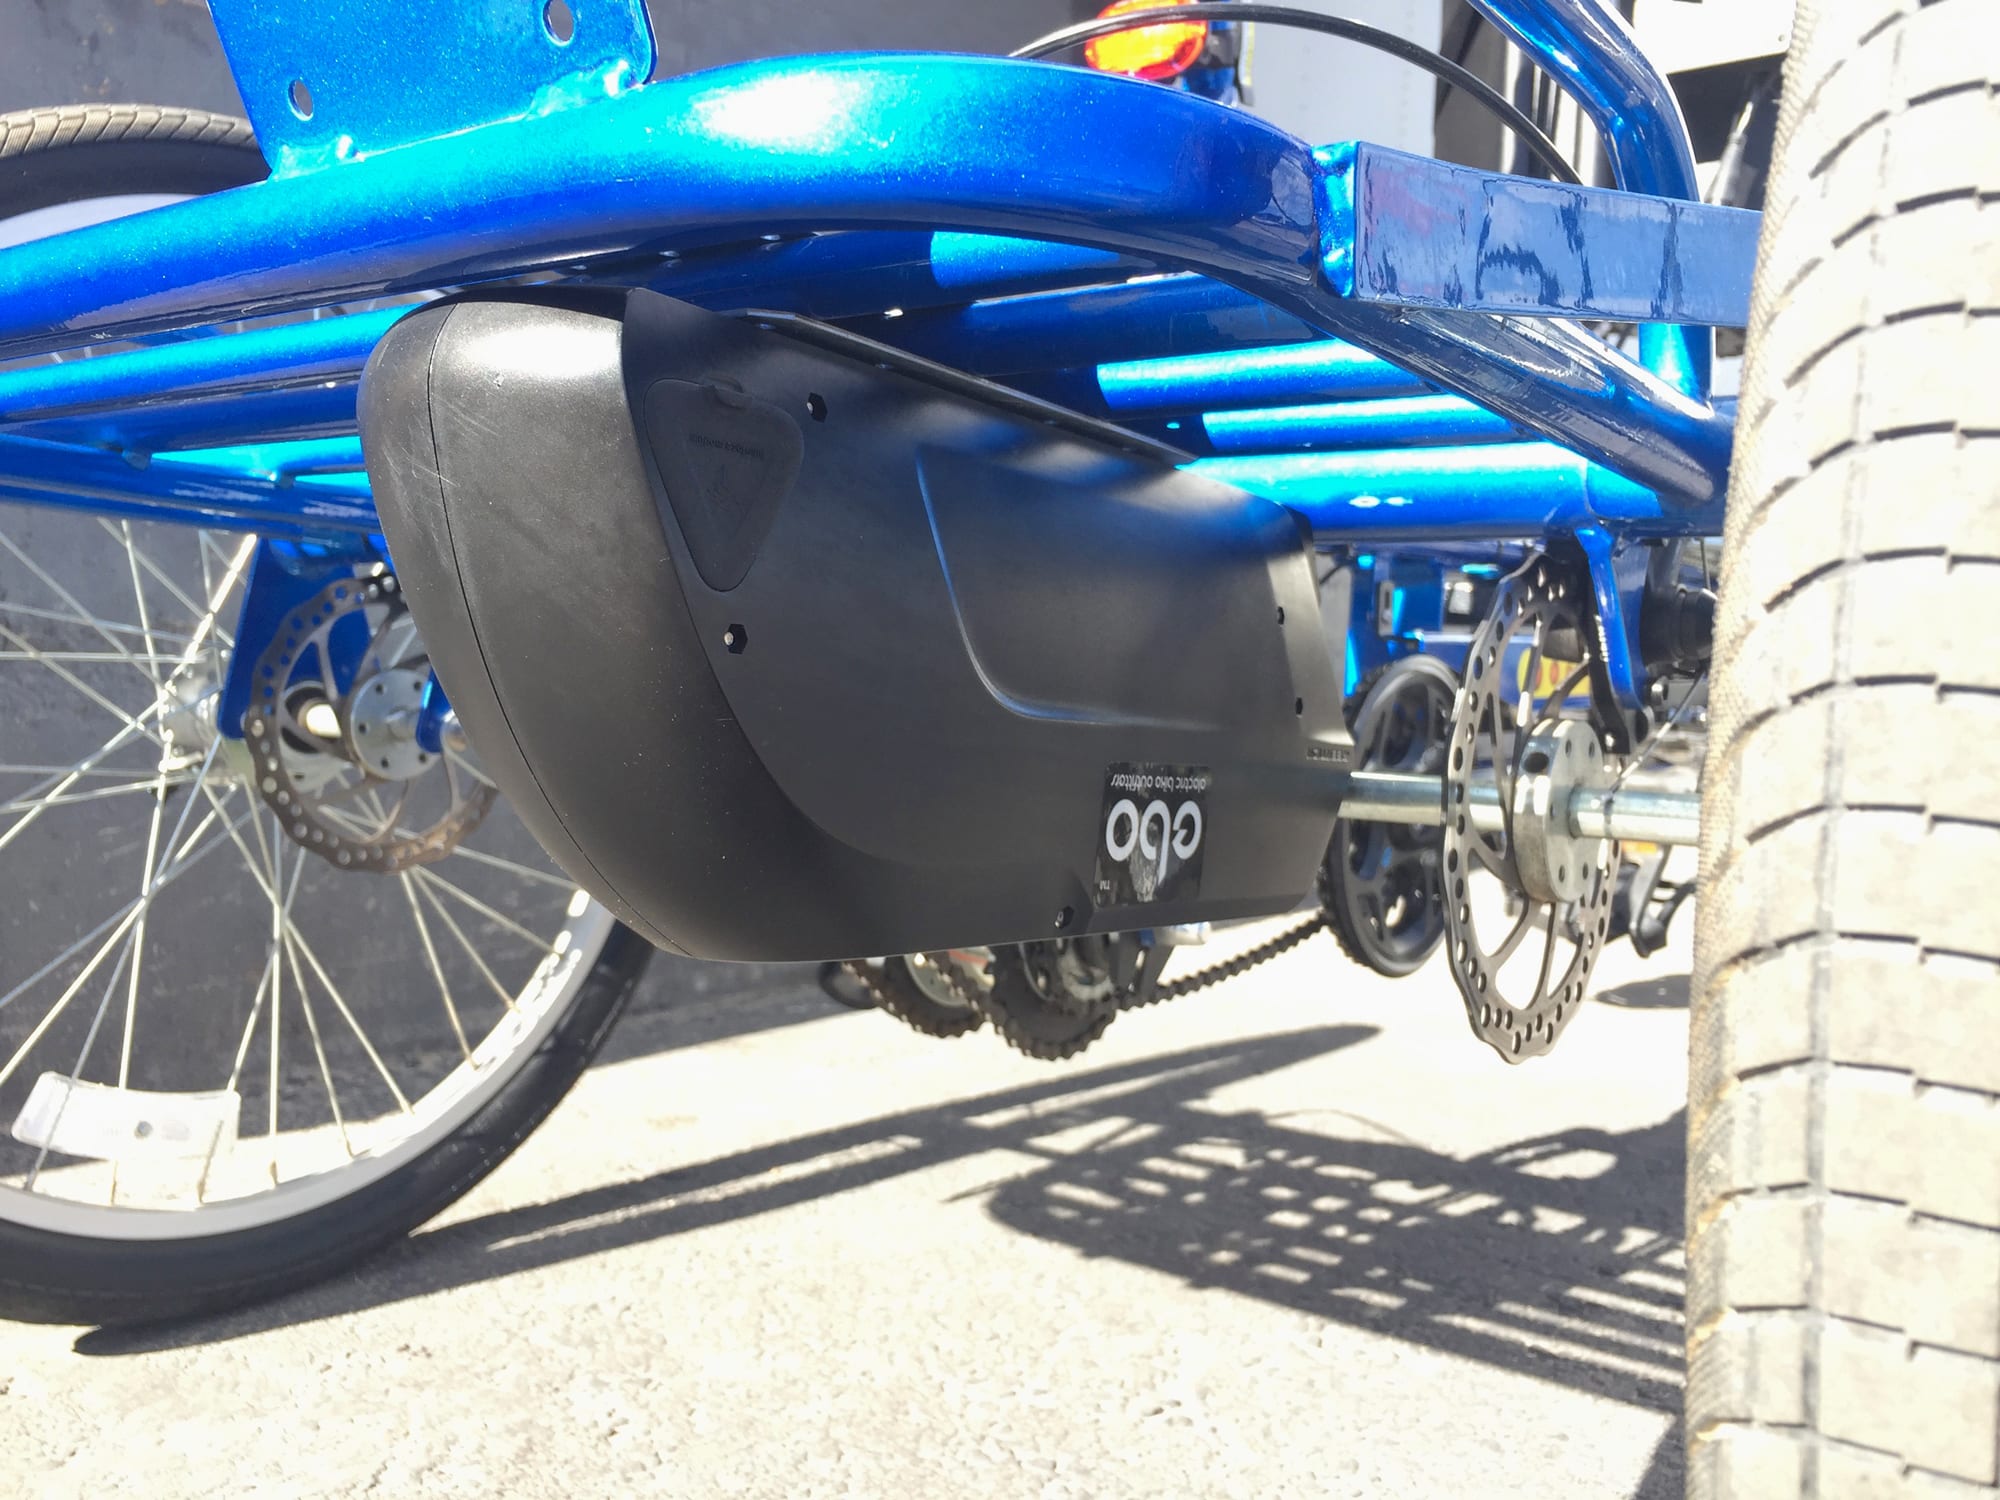
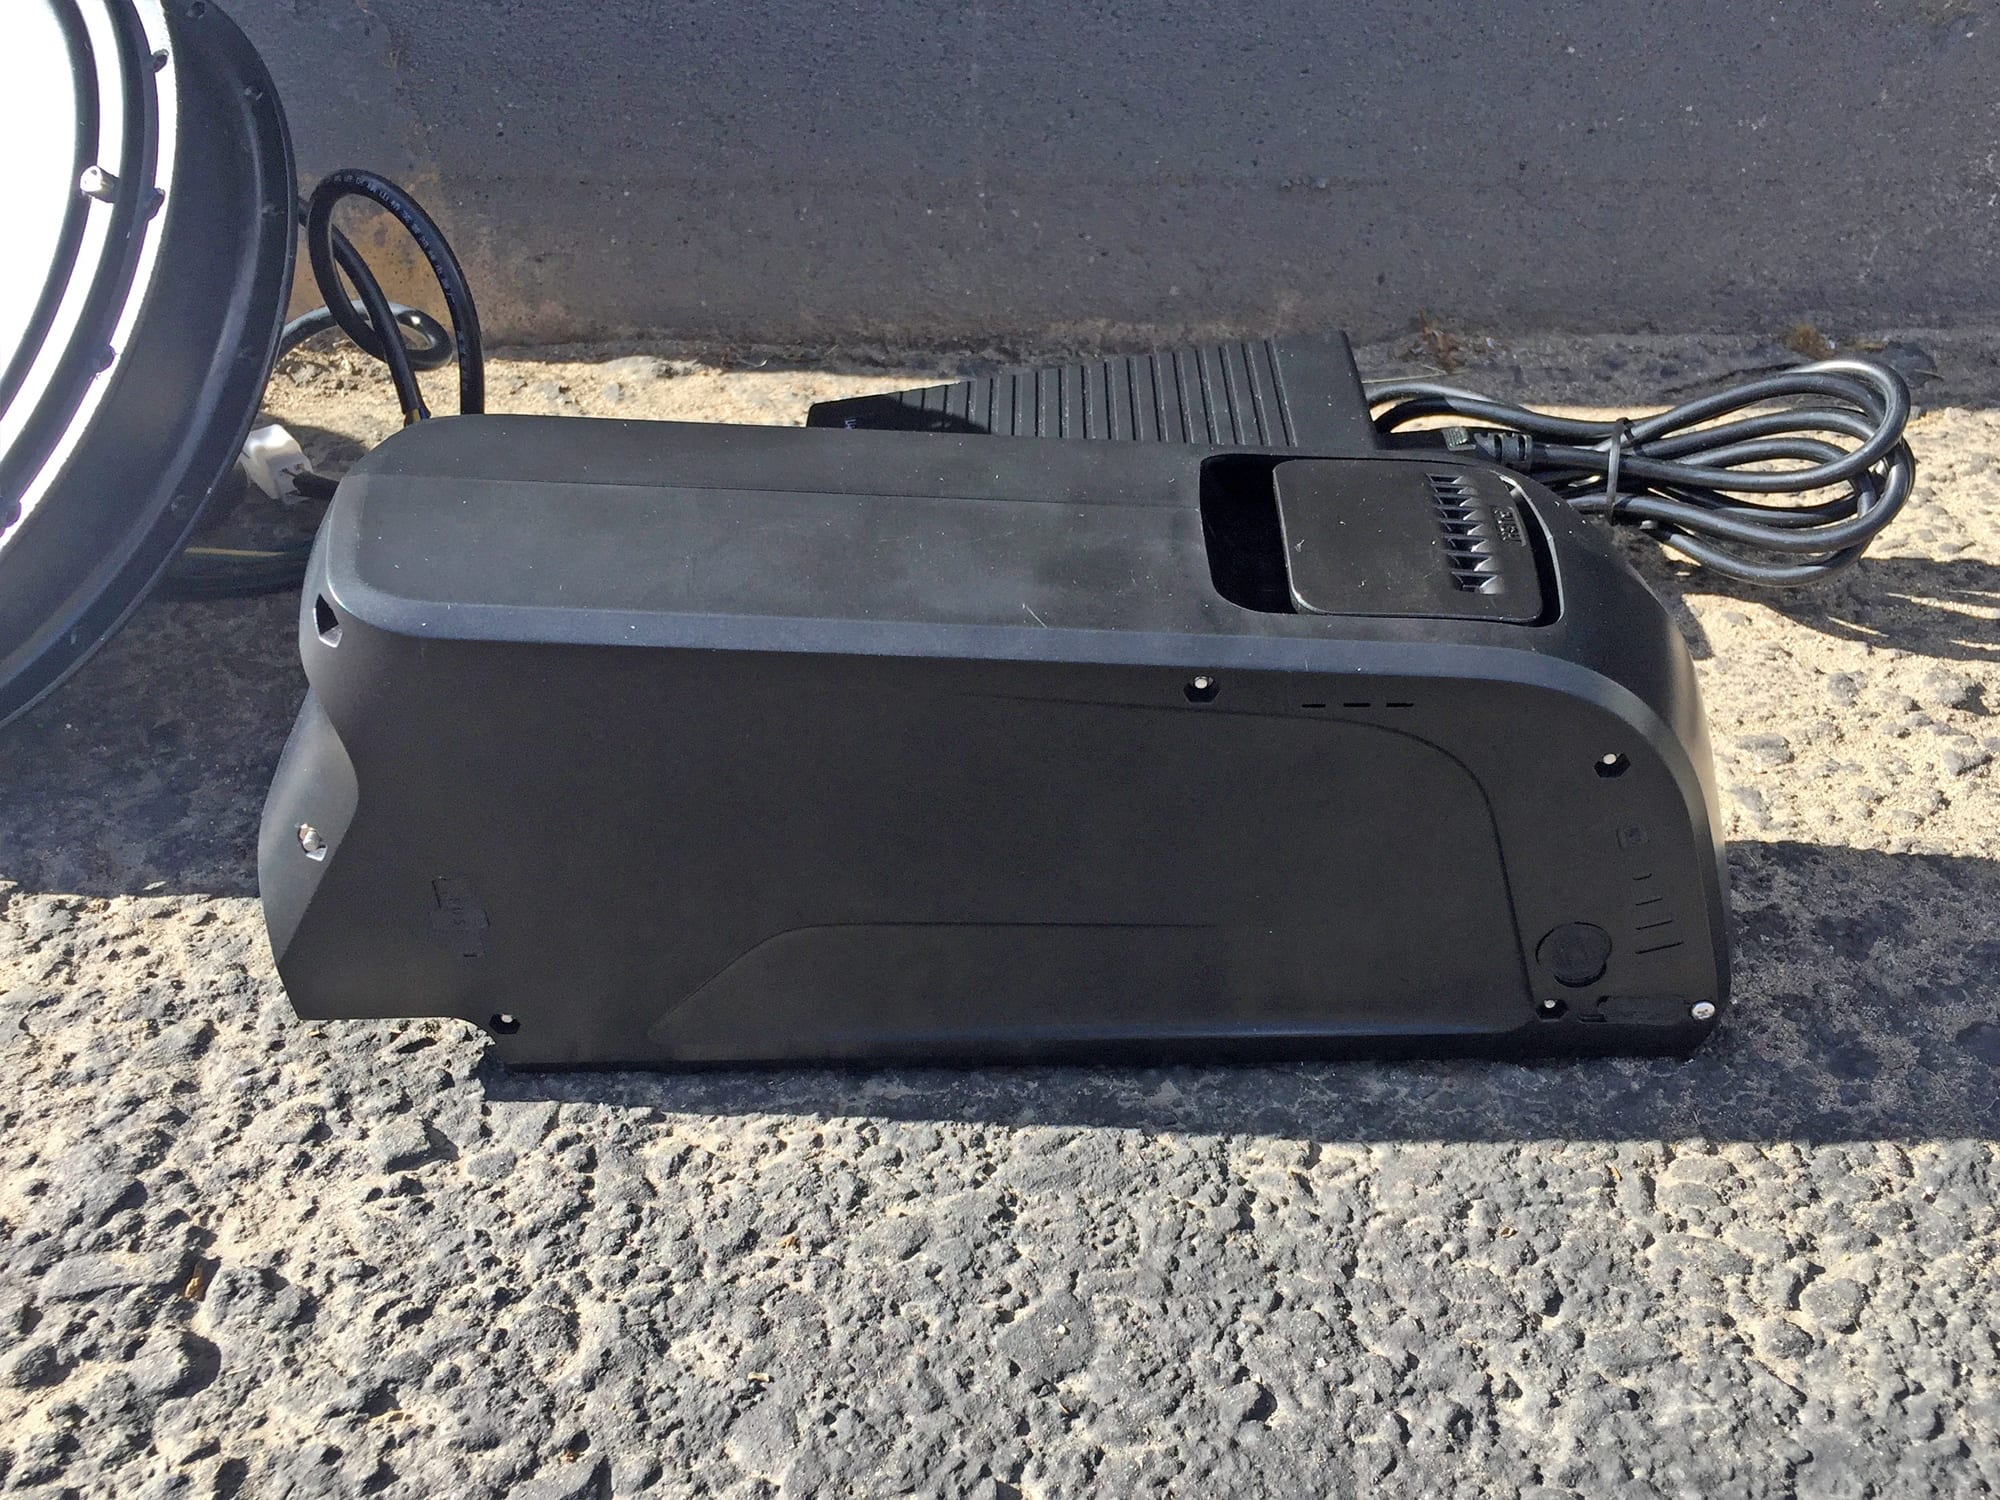
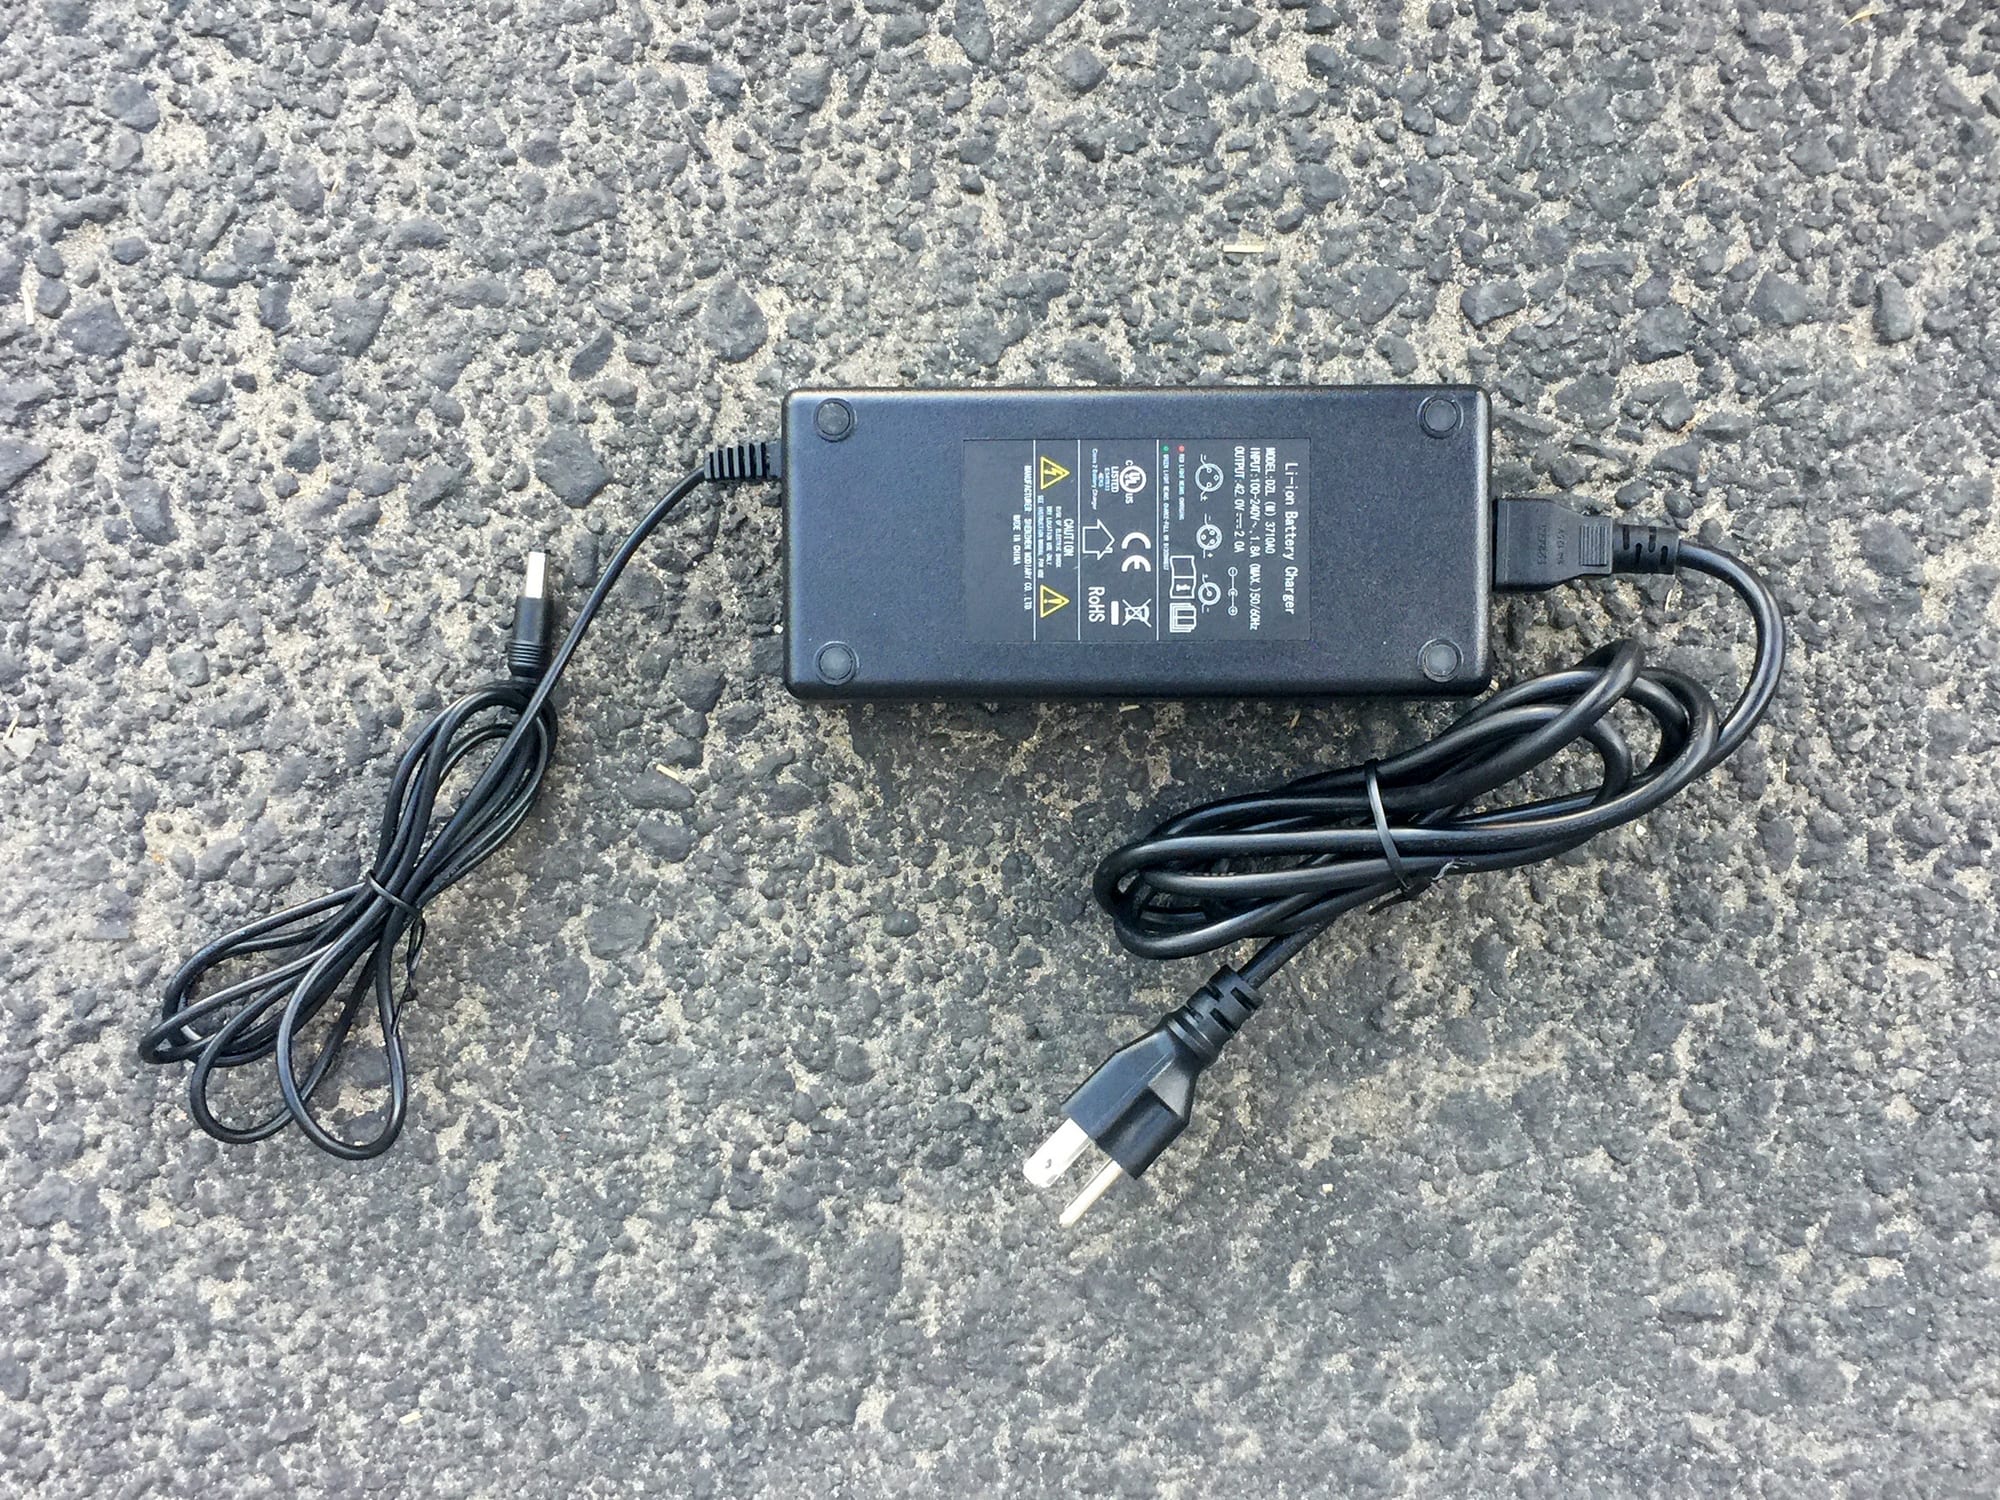
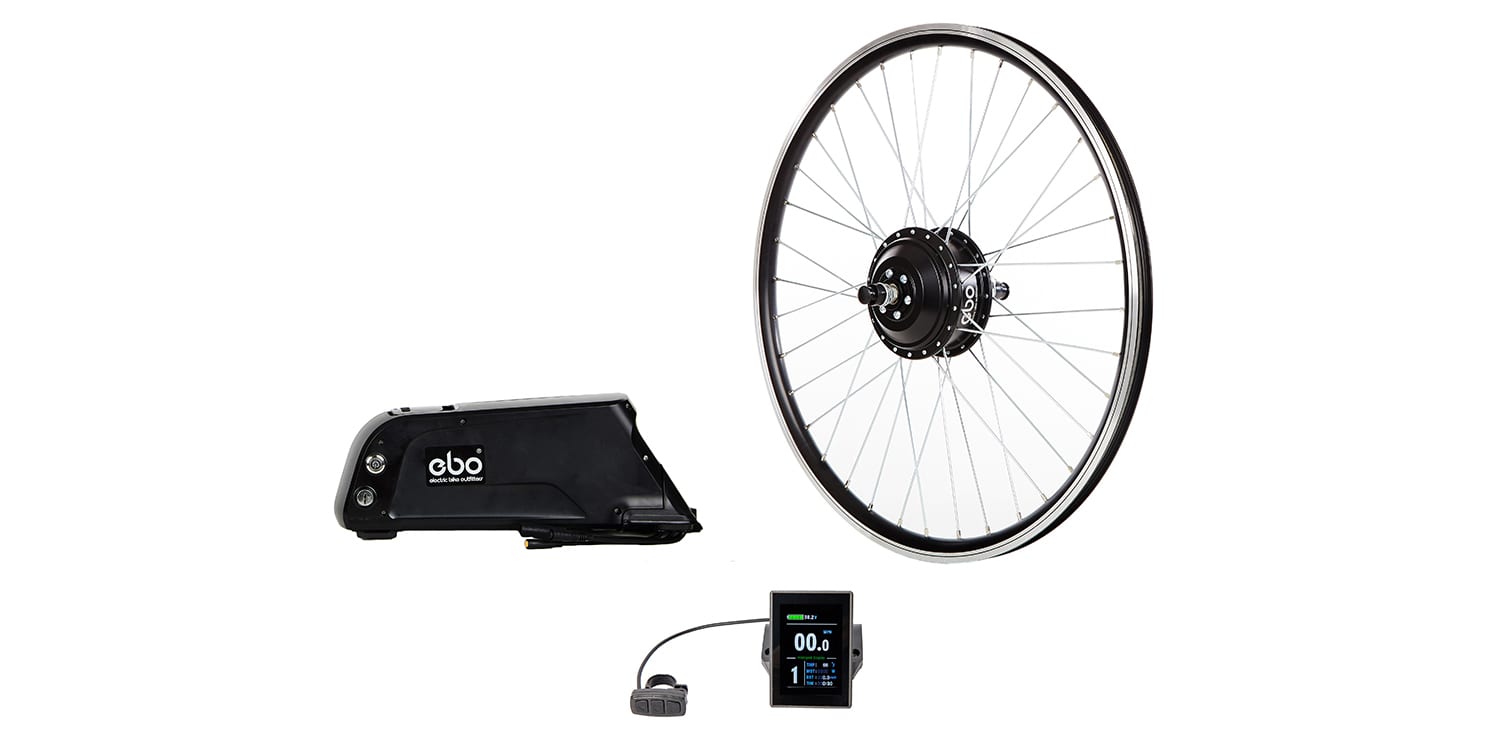
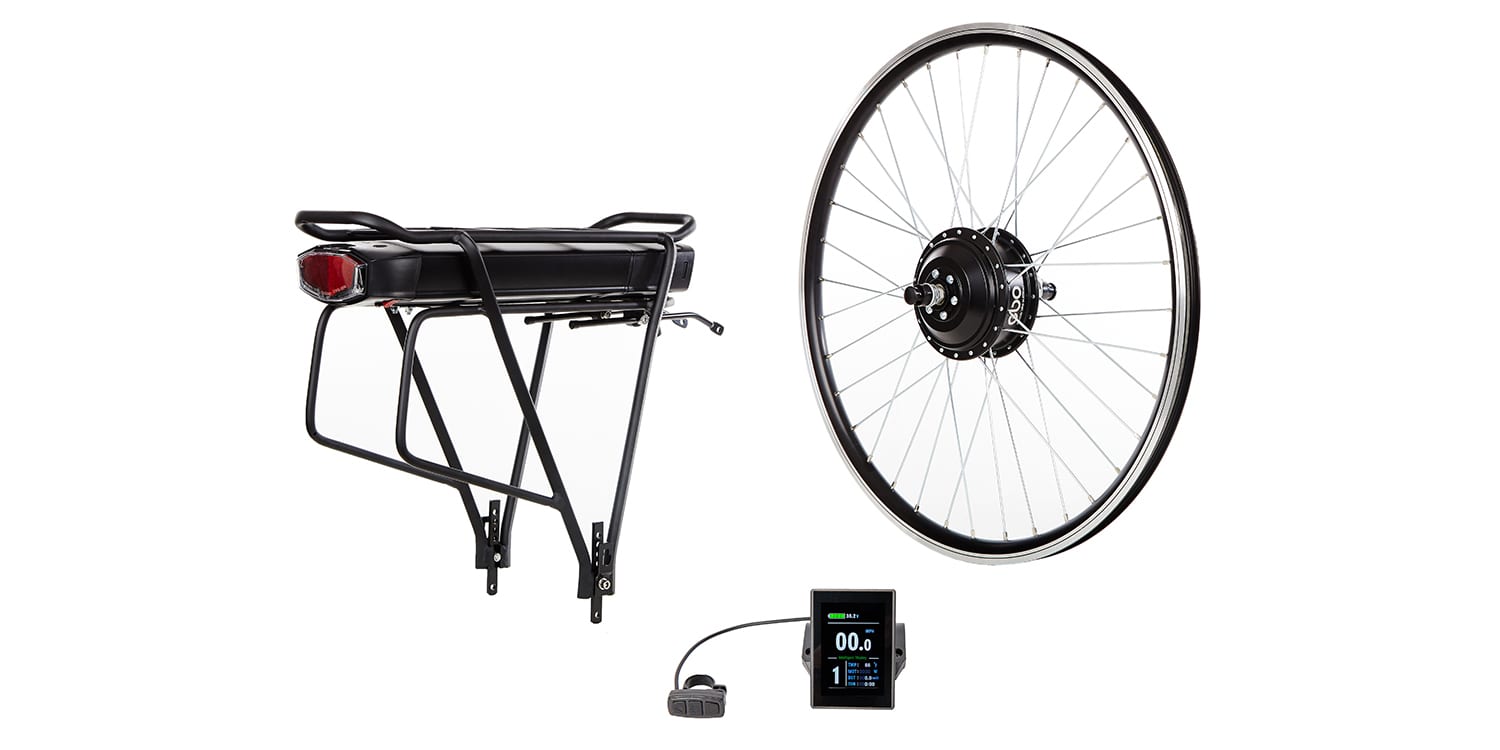
Powering this kit is a Lithium-ion battery pack, made with Samsung 18650 cells. They’re configured as 13 series and 4 parallel offering 48 volts and 11.6 amp hours (though Jason advertises 11 to keep expectations reasonable). The battery pack itself is reasonably lightweight at ~7.1 lbs, and it interfaces with a plastic slide which you need to screw onto your frame somewhere. The owners of this bike got creative and mounted the pack upside-down below their rear rack using a metal plate. There is a sturdy metal track inside the plastic slide, with long slots for inserting bolts in many configurations. Ideally, you’ll be able to mount this to bottle cage bosses on your downtube to keep weight low and center. This is what was done for the Giant demo mountain bike you can see in the EBO Burly Kit review here. Lithium-ion cells are known for being relatively lightweight but very durable and long lasting. They don’t develop a memory if you forget to charge them right away, but they are still heat and cold sensitive. Jason recommended recharging the pack after it had had been depleted to above 20% vs. recharging after every short ride. He explained that this would allow for more full cycles, and help the cell chemistry to last longer. However, if you go below 20%, there’s a chemical change in the batteries and this could be hard on them. It’s best to store the battery pack in a cool, dry location, and you can charge it either on or off the frame, which is handy. It locks securely to the slide mount but has a hinged handle on top for safe lifting. I do have a few gripes about the battery pack, and the first one is that the slide mount only attaches with two bolts in most cases if you’re using bottle cage bosses. Compared to purpose-built e-bikes, it’s just not as sturdy or nice looking (newer bikes have batteries that are sunk into the downtube a bit for even lower weight and sturdier positioning like this). The EBO Dolphin style battery pack may not fit at all on some youth, folding, or step-thru frames (and for that, EBO has a rear-rack battery mount that is compatible with this kit). The downtube battery has three ports built into the right side (a fuse, charging point, and USB port), and I found the rubber charge port cover a bit tricky to seat properly… I had to be intentional about lining it up exactly before pushing in with some force. Also, the USB port on the battery is disabled because Jason said it can slowly discharge the battery (potentially taking you below the 20% point if you haven’t used it for a long time). The battery charger itself is pretty basic, providing 2 Amps of power output for regular charging speeds, it’s not super compact or lightweight at ~1.9 lbs, but is still small enough to toss into a bag and bring along on rides. My final complaint about the battery pack is that you have to turn it on independently from the display, and this takes a few extra seconds… especially if the pack is mounted somewhere difficult to reach or low down (like the rack on the ET2611). This is a minor gripe, one that isn’t unique to EBO kits or even purpose-built electric bicycles, but one worth noting. In some cases, you simply cannot buy an electrified version of a bicycle, or you may want to breath new life into a bike that is sentimental. For those moments, the idea is to find a kit that will offer enough power, fit your budget, and position weight well while also looking good.
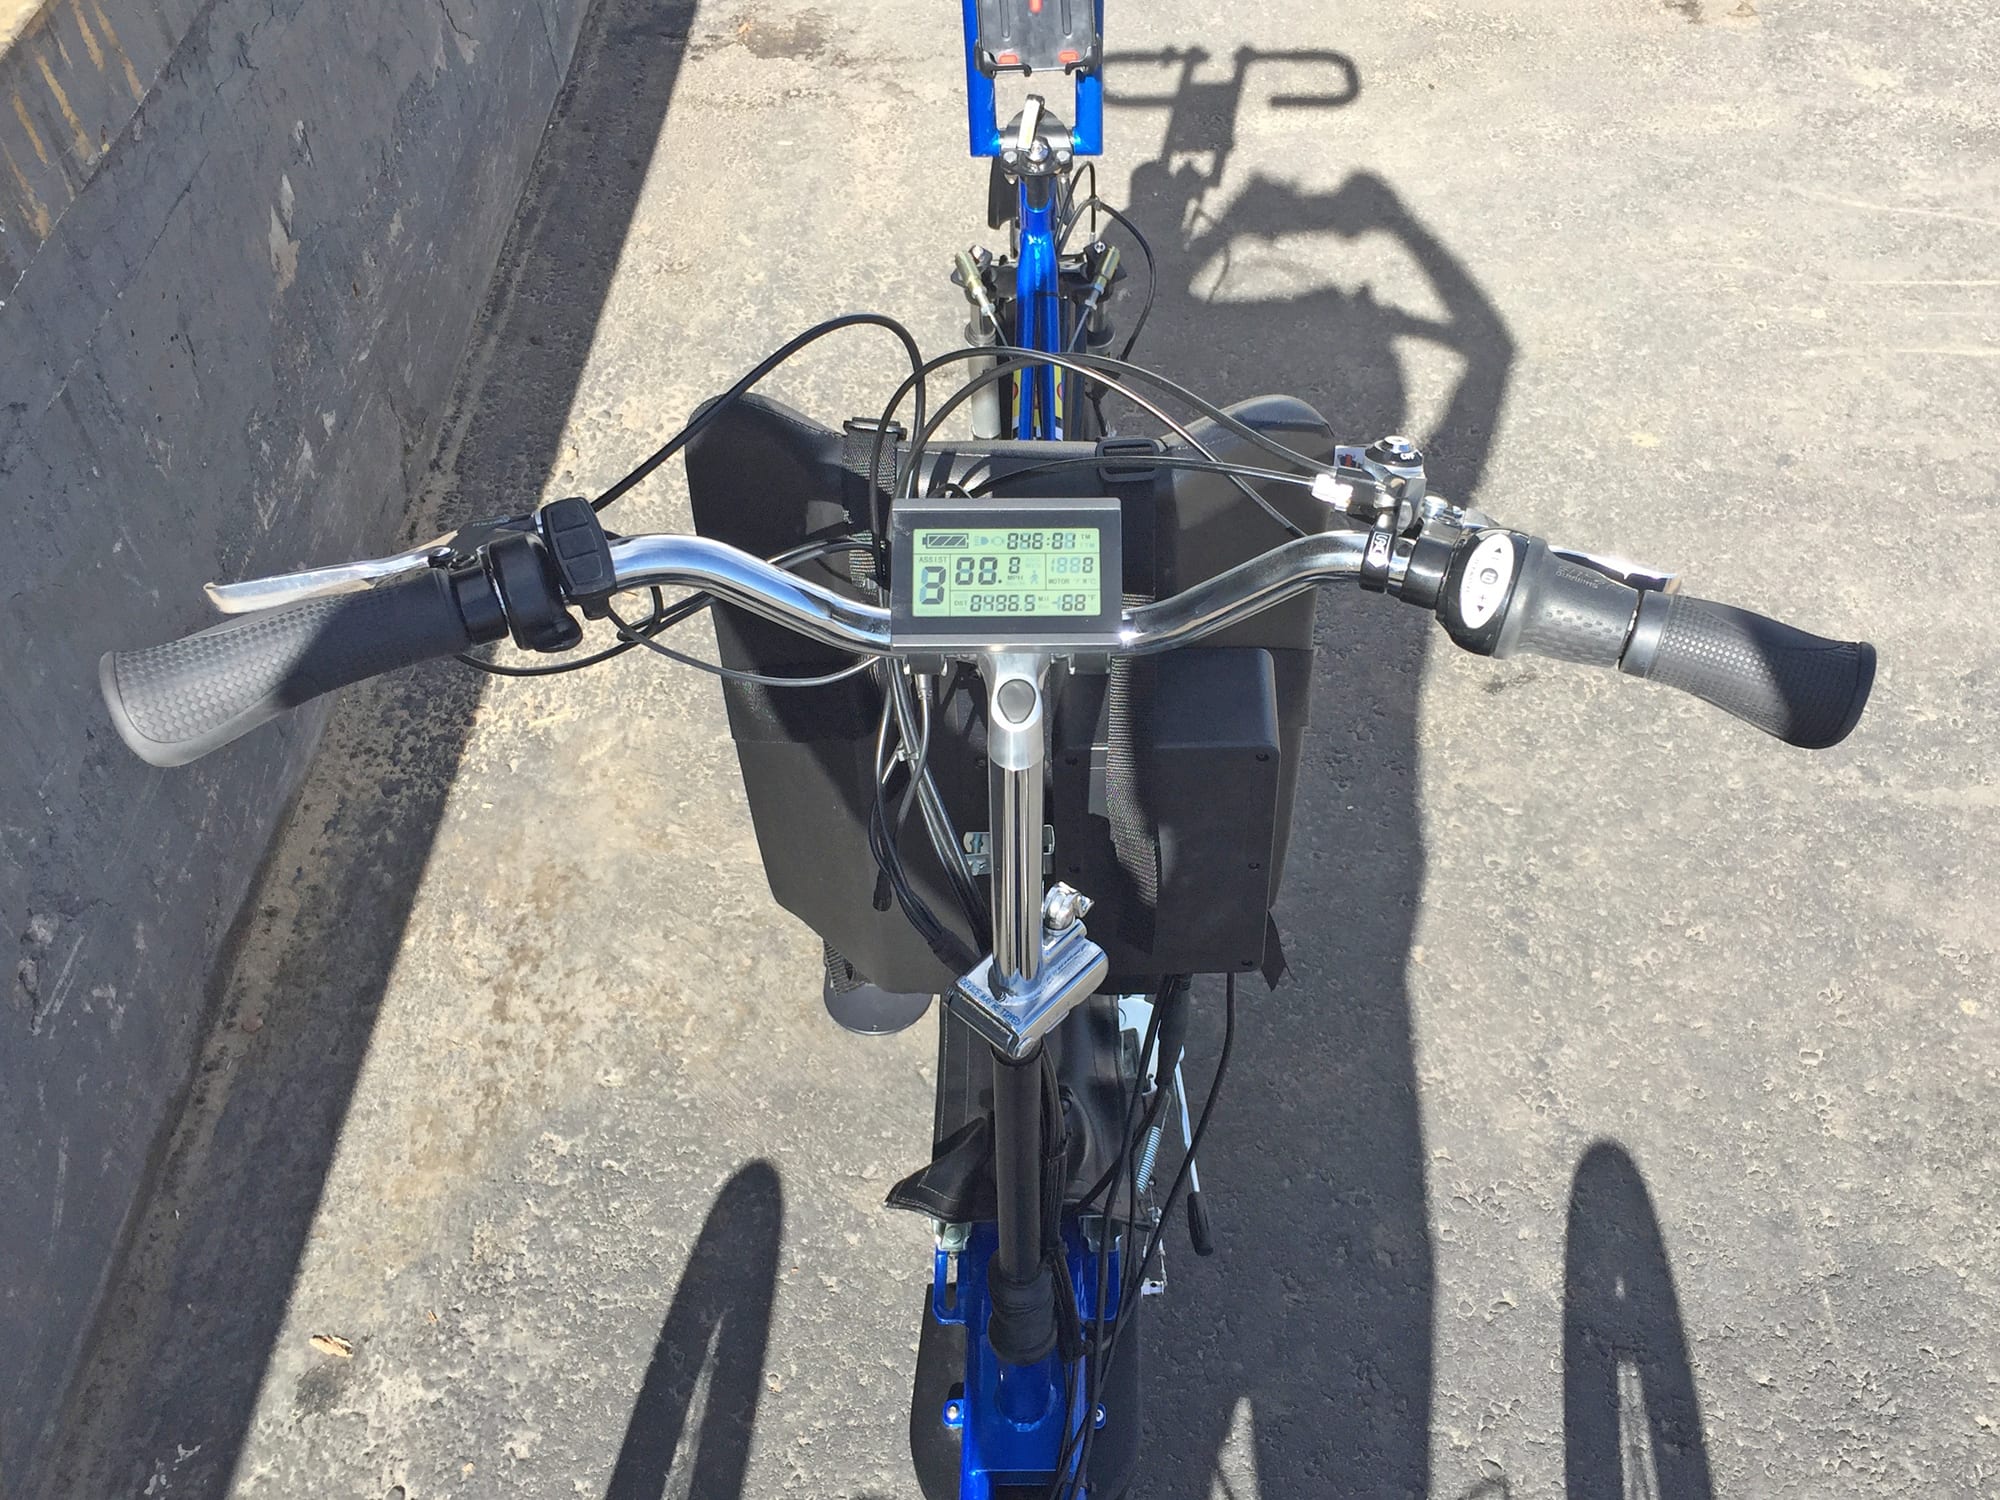
Moving on to operation, once the battery is charged up, mounted, and switched on, you can hold the power button on the control pad which is usually mounted near the left grip. At this point, the LCD screen (or LED console) comes to life. The default display hardware that comes with the Clydesdale is a beautiful backlit KT branded LCD with integrated USB charging port. However, EBO does offer to swap this display for a more basic LED console, to reduce handlebar clutter and limit the fancy look of the kit (which could attract unwanted attention in some situations or take up space where you might have a phone or drink holder). As much as I love the LCD, and will be focusing on it from here on out, the LED pad that EBO offers here is nicer than average, because it shows a speedometer in addition to the current charge level and assist mode. Neither one of these two display panels is removable, but both can be swiveled a bit to improve readability or reduce glare. The LCD shows all sorts of menus, but only uses three rubberized buttons to operate. This control system combines simplicity with depth, and is intuitive to use, without requiring that you look down all the time to change assist levels, once you get the hang of it. The power button in the center of the control pad allows you to cycle through trip stats like odometer, trip distance, average speed, max speed etc. and the up and down arrows allow you to raise or lower the assist setting. By default, the bike is set to assist level zero, so that the throttle is inactive. Once you arrow up to 1-5, the pedal assist sensor goes live and you can instantly use the throttle with full power. It ramps up smoothly and feels a bit more refined than some other systems I have tried, but is definitely more zippy than some of the weaker 36 volt kits. Gearless motors tend to be quiet and smooth most of the time, but this one produced a bit of whirring noise when operated at full power. I prefer to pedal with an efficient, lower level of pedal assist, with occasional bursts of power to start from rest, catch up with friends, or climb hills, and all of the EBO hub motor kits let me do this. Whether you’re riding in bright light or darkness, the LCD display should be viewable, because you can hold the up arrow to activate backlighting. Holding down will activate walk mode, if the bike is not moving more than 6 mph already. If you enable cruise control in the settings menu (by holding up and down simultaneously to get to the setting) you can then hold the down arrow at any set speed above 6 mph to activate cruise control and give your legs, wrist, or thumb a break. If you set it while pedaling, you have a second or so to discontinue pedaling or it will shut cruise off again. It’s a feature I don’t see a lot, and one that some people might really appreciate for long commutes our touring. The other thing that will override cruise control is hitting either of the two brakes, because they have motor inhibitors built-in. There are so many settings to explore here, including lower top speeds, a security password to keep the bike from being tampered with or ridden by young people, and the ability to change the cadence sensor sensitivity. Jason convinced me that eight magnets was enough for their cadence disc (verses 12 magnets that I have seen on some other ebikes and kits). He explained that the disc itself is smaller and less likely to be bumped this way, but that it is still very responsive. Apparently, some people want to set their cadence sensors to be less sensitive, so that the bike won’t surprise them if an accidental partial pedal stroke is made, and you can indeed make the cadence sensor less responsive this way by exploring the settings menu and using Jason’s manual as a guide. The cadence sensor itself is one of the more difficult parts to install with this kit, because it requires a bottom bracket wrench and crank puller or help from a shop to get on. It’s not an easy clip-on design, but the benefit is that it should be more sturdy and reliable in the long run. In short, I appreciate how useful and open the control systems are on this ebike kit. It’s not limited or locked up like most purpose built ebikes, and it even gives you USB power for maintaining a phone, music player, or lights on the go. When conducting this review, Jason had explained that the display had a 20 second lag for the current speed to register (based on their new firmware that works with 36 and 48 volt motors. I was thankful that Jason was aware of the issue and honest about it as we talked on camera, he has since resolved this issue (late February 2018) but I wanted to keep this note for those who might have an older version.
At the end of the day, this is just one more great option for electrifying your bike. It’s powerful, durable, and well supported, which means a lot to me. The new Julet connectors that EBO uses are color coded to make them easier to work with, and there’s all sorts of possibilities with the display and open settings. I was told that the kit can be unlocked to go nearly 30 mph, and this would make it a private property or off-road class, but you could also remove the throttle and set the top speed to 20 mph for Class 1, add the throttle back for Class 2, or remove the throttle and set the maximum speed at 28 mph to achieve Class 3. That makes it a great option for commuters, mountain bikers, tandem riders, cargo haulers etc. etc. It really inspired me seeing how this family had adapted their special handicap bike to work with the kit, so they could go further and enjoy the ride more (since he cannot pedal). Having instant throttle power certainly makes a difference when getting started in a situation like that. I was told that they got the bike from a Canadian company called Freedom Concepts, and that it’s called the ET2611 which you can learn more about here. Apparently it weighs over 80 lbs, and that’s not including the 20+ lbs of the kit. The family received funding support for the bike through an organization called the Great Bike Giveaway which you can learn about here. Big thanks Adrienne and Robert for sharing their bike and images of their Son, as well as Jason Livingston (the founder of EBO) for partnering with me on this review. As always, I’ll do my best to answer questions in the comments below, and invite you to connect directly in the Electric Bike Outfitters Forums.
Pros:
- Gearless hub motors like this are known for being bulletproof, just sturdy and long lasting because they don’t have gears rubbing inside
- Electric Bike Outfitters has been around since 2015 and really expanded their operation, they ship all over the US, Canada and other parts of the world, you get a solid year-long warranty and 30 day return policy which is rare for kits
- EBO has been refining their hardware and now uses Julet color-coded wires that are easier to setup, the cadence sensor is sturdy, and you get two display choices and both are good in my opinion
- The motor casing is black by default but Jason said they also sell silver, and you can get the rims in black or silver too, the end result is a kit that can match your bike better and blend in… even though it’s a bit larger in this case because of the gearless design
- Extra thick 12 gauge spokes provide strength and the kit comes with a heavy-duty torque arm to distribute force into the frame so you won’t strip your dropouts
- Electric Bike Outfitters hand-spokes their wheels and provides a huge range of sizes including 20, 24, 26, 27.5, 28 (700c / 29), making this an extremely versatile kit, they also provide custom wire lengths so it can be fit to tandems, cargo bikes, etc.
- In addition to different wheel sizes, there are many hub spacing choices to explore here, including 100 for front wheels, 120, 135, 170, or 190 mm for a range of rear wheels, including fat tire setups!
- Safety is a big focus for me, so I appreciate the more sensitive cadence sensor, adjustable top speed settings, different throttle options (trigger, half-twist, and full-twist) as well as the brake lever motor inhibitors included here, EBO does offer inhibitors to screw and glue onto hydraulic levers if you have a fancier bike
- The display panel is large, easy to read, full of interesting settings to experiment with (and EBO has a nice manual to help you do so on their website), and it has an integrated USB charging port, though the display cannot be easily removed for protection at bike racks or wet days
- Even if EBO eventually goes out of business or changes some of their kit hardware, you should still be able to get parts and have your battery case re-packed because they are not software locked, they follow an open industry-standard vs. being proprietary
- Given that the battery pack weighs ~7.6 lbs, it’s great that there’s a handle built into the top, so you can carry it more securely, I suggest storing it in a cool dry location and avoiding extreme heat and cold to make the Lithium-ion cells age well
- On the one hand, installing the hard-mounted cadence sensor takes more time and tools than one that is glued or zip-tied on, but on the other hand, it is going to be more secure this way, and I found that it worked very well during the ride tests
- The hub motor can be setup in a front or rear wheel configuration, and EBO offers single speed, 6 to 9 speed, and Shimano and Sun Race cassette options, I probably would not mount the Clydesdale up front if possible because it adds a lot of weight and could impact steering
- For those who want a really compact display, or just less flashy hardware on their bike, EBO offers a black LED control pad with integrated buttons (shown in the pictures above), and I like this thing because it also has a basic speedometer! most other LED control pads only show your battery charge level and assist
- You can activate walk mode to help move the bike by holding the down arrow if it is standing still, if you enter into the menu settings you can activate cruise control and then when riding over 6 mph, hold the down arrow for a few seconds to set cruise speed, in the settings you can also enable throttle mode at assist level zero if you want… or even remove the throttle and only use pedal assist only as a Class 3 ebike going up to ~28 mph, there are just so many options
- Before shipping each battery, the team at Electric Bike Outfitters actually drains and refills it to test all of the cells, I was told that they experience a 1% failure rate and by testing like this, it saves you time and hassle as the end consumer
- The actual motor casing has been custom designed by Jason, the founder of EBO, and he made it fit on a wider number of narrower forks by stepping it in, it’s also compatible with with linear pull brakes or disc brakes (you can mount dis brake rotors directly to the side of the hub casing)
- Hub motor ebikes can often have more pedal gears to work with than mid-motors (because they can easily support multiple front chainrings), and shifting gears causes less wear because the motor power is separate from the pedaling drivetrain
Cons:
- Gearless hub motors don’t always freewheel as efficiently as geared designs because of cogging, this is magnetic drag produced by the electromagnetic staters inside repelling against the large rare Earth magnets when the motor is just coasting or is shut off
- Gearless hub motors tend to be heavier and physically larger than geared, this kit can only be spoked into wheelsets 20″ or larger whereas the EBO Burly kits with geared motors can go all the way down to 16″
- The battery charger is a bit basic, only offering a standard 2 Amp power output, and it’s not super compact or lightweight at ~1.9 lbs… still, it should fit into your backpack or other bags easily for charging on the go
- The 8-magnet cadence sensor worked pretty well, and can be adjusted for sensitivity in the settings area of the display, but it simply isn’t as fluid or dynamic as a torque sensor or multi-sensor, there’s a bit of lag starting and stopping but the brake lever motor inhibitors help a lot
- Unlike a purpose-built electric bike, kits usually have extra wires that aren’t as hidden or neat looking, the battery mount slide connects to the downtube with two bolts vs. three or some even sturdier custom designs
- If you opt for a rear rack battery design, you’ll get an integrated light, but it isn’t controlled by the LCD computer, you have to physically turn it on and off each time you ride, there also is not a USB port on the battery… just the display
- This isn’t a big complaint, but the USB charging port on the Dolphin downtube battery pack has been disabled (to reduce phantom power draw over long periods of disuse), there’s a second USB port on the lower right side of the LCD display panel, but sometimes it’s nice to use the battery itself as a backup power source off the bike
- Installing a kit like this will take a bit of time, energy, and possibly additional tools like a crankset puller and bottom bracket wrench, you might even want to get your local ebike shop to help you, and that adds to the price
- For some of the older versions of this kit, the display panel might have a 20-second lag before showing your current ride speed, I was told that this has since been resolved with a software update, apparently the speed sensor is integrated into the motor hardware, the delayed readout was a minor annoyance and could cause confusion at times
- Most hub motors like this have the power cable entering into the axle from one side, and this can be a point of vulnerability if the bike tips or you ride close to obstacles that could snag or scrape it, a few of the new Dapu motors have their power cables tucked very closely (behind the disc brake rotor) but I don’t think that you can order them aftermarket as kits
- Turning this bike on and off requires two steps, which adds a bit of time, you first have to click the battery pack itself on and then press the power button on the control pad, just remember to turn it all off before dismounting, transporting, and storing to prevent accidental activation
- One of the interesting possibilities that gearless motors offer is regenerative braking or regen drive modes, but that is not a feature that EBO has included, it’s something I have really only seen on the nicer kits like the BionX D-Series
Resources:
- Official Site: http://www.electricbikeoutfitters.com/ebo-clydesdale.aspx
- More Pictures: https://photos.app.goo.gl/LNOKX5SHWAck2WEp1





Reader Interactions